
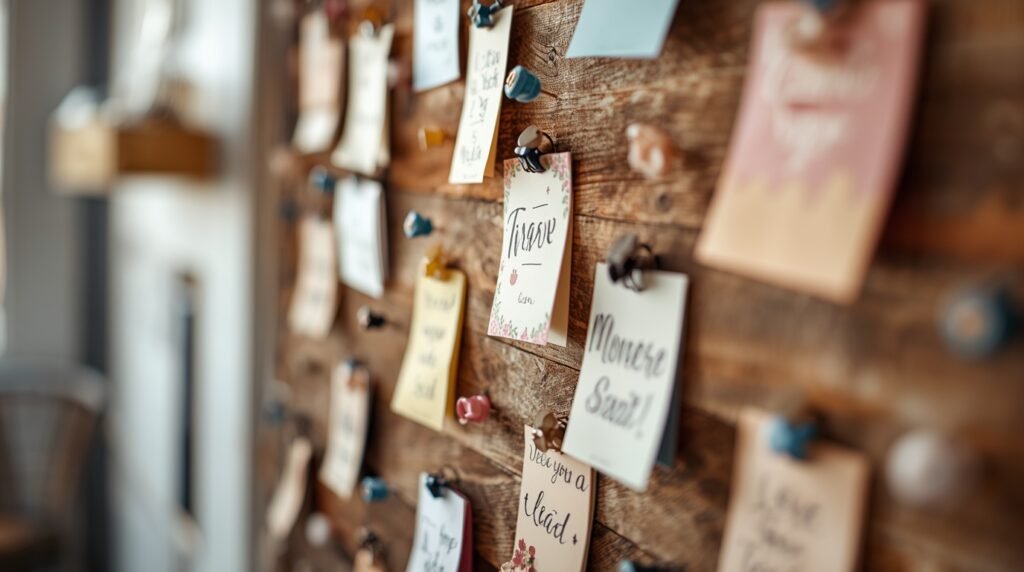
A DIY pin board is more than just a place to display notes—it’s a creative way to organize your ideas, showcase favorite photos, and add personality to your space. Whether you’re decorating a home office, bedroom, classroom, or craft room, a handmade pin board can be both practical and stylish.
The best part is that you can customize it to match your décor while staying within your budget. In this collection, you’ll find inspiring DIY pin board ideas that are easy to create, fun to personalize, and perfect for keeping your daily inspiration and important reminders within easy reach.
Create a Fabric-Wrapped Pin Board
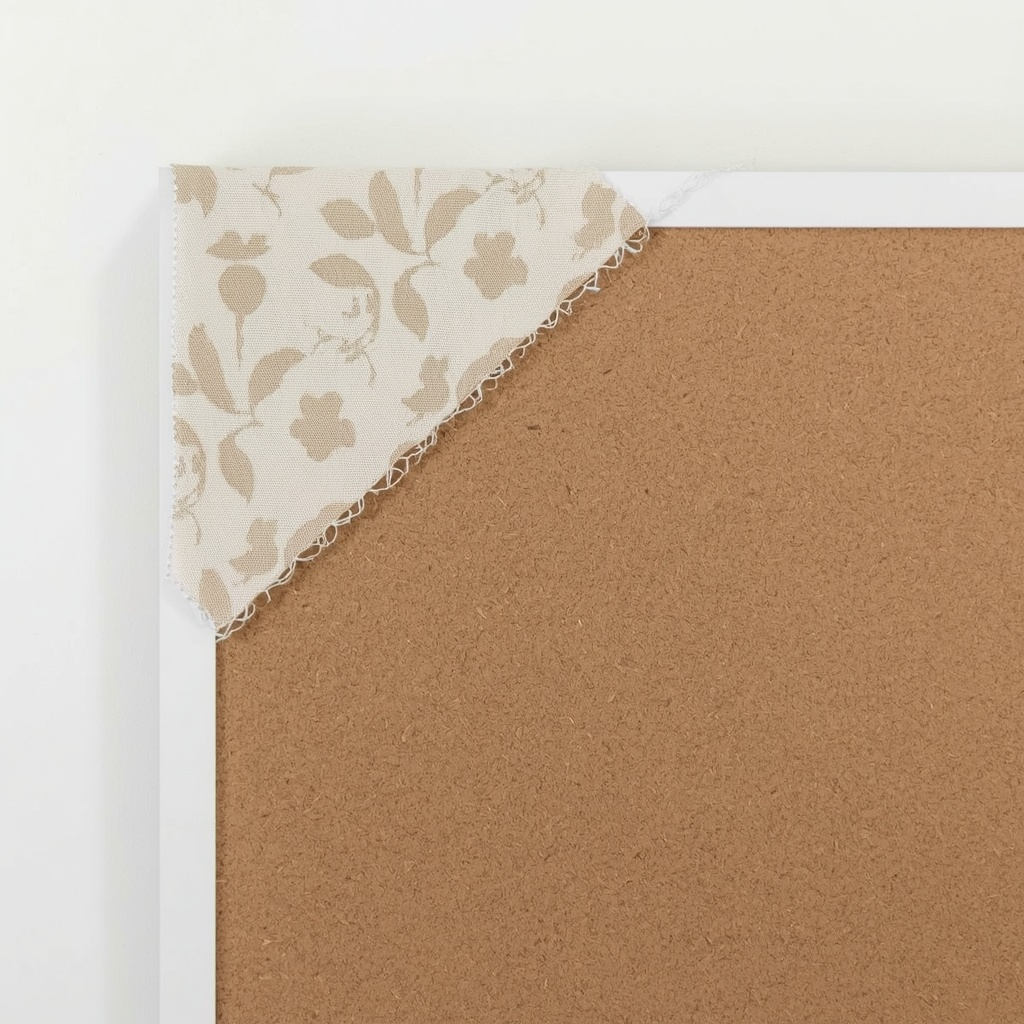
A fabric-covered pin board is an easy way to give a standard cork board a more polished and decorative appearance. Wrapping the surface with fabric allows you to customize the design to match your home, office, or craft room. Neutral linen creates a clean and minimalist style, while patterned cotton adds personality. Velvet or textured fabrics provide a more elegant finish. This simple project transforms an ordinary board into attractive wall décor while still offering a practical place to display notes, reminders, photographs, and inspiration.
Materials Needed
- Cork board or canvas frame
- Fabric of your choice
- Staple gun and staples
- Scissors
How to Make It
Cut the fabric several inches larger than the board to allow enough material for wrapping. Lay the fabric face down, position the board in the centre, and pull each side tightly before stapling it to the back. Continue around the board until all edges are secure, then neatly fold and staple the corners for a smooth finish.
Build a Decorative Framed Pin Board
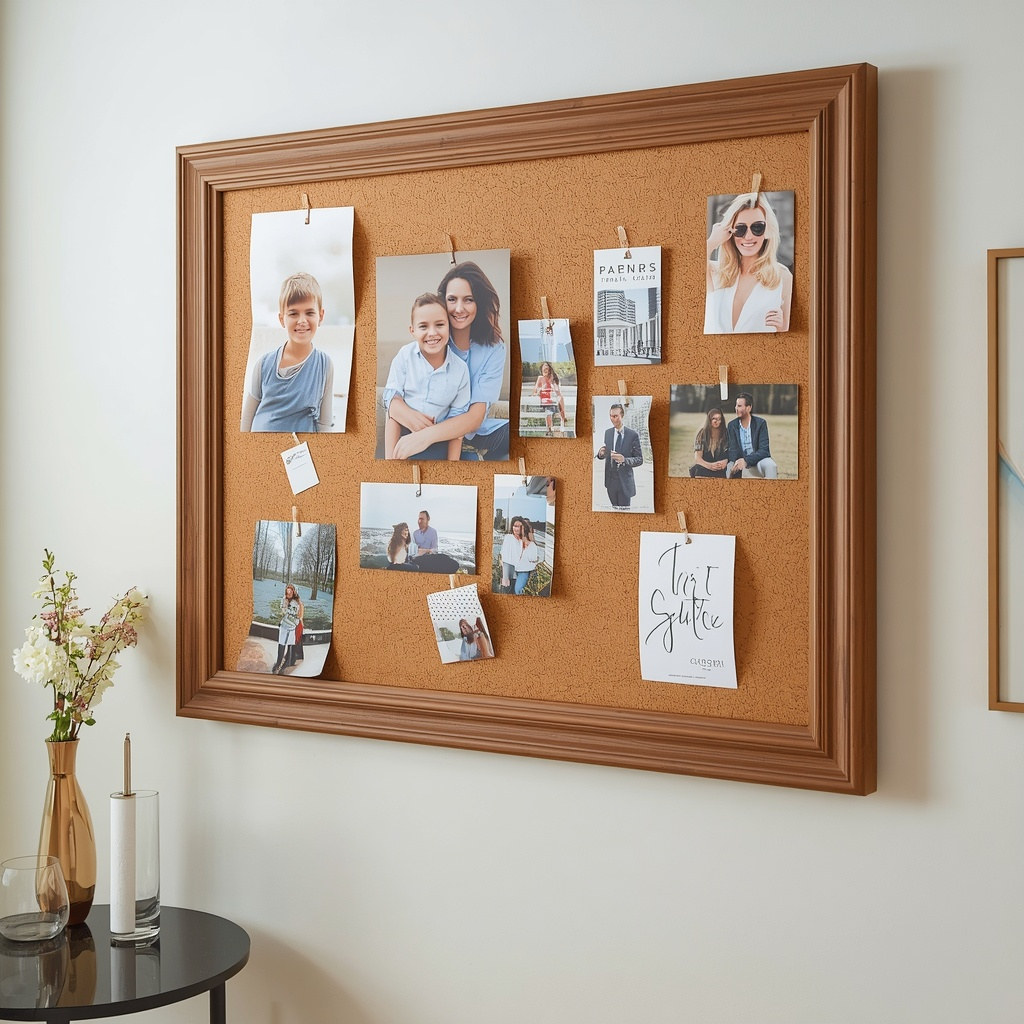
Adding a wooden frame instantly makes a homemade pin board look more refined and suitable for any room. A framed design blends easily with home décor while protecting the edges of the cork. Whether painted or stained, the frame gives the board a finished appearance that works well in offices, bedrooms, or family spaces. It also allows you to create a larger display area for organising photographs, schedules, reminders, and inspirational items.
Materials Needed
- Cork sheet
- 1×3 wooden boards
- Miter saw
- Wood glue
- Finish nails
- Paint or wood stain
How to Make It
Cut the cork to your preferred size before measuring and cutting the wooden frame pieces with 45-degree corners. Assemble the frame using glue and finish nails, then attach the cork securely to the back. Finish the frame with paint or stain before hanging it on the wall.
Make a Custom Pin Board with Cork Rolls
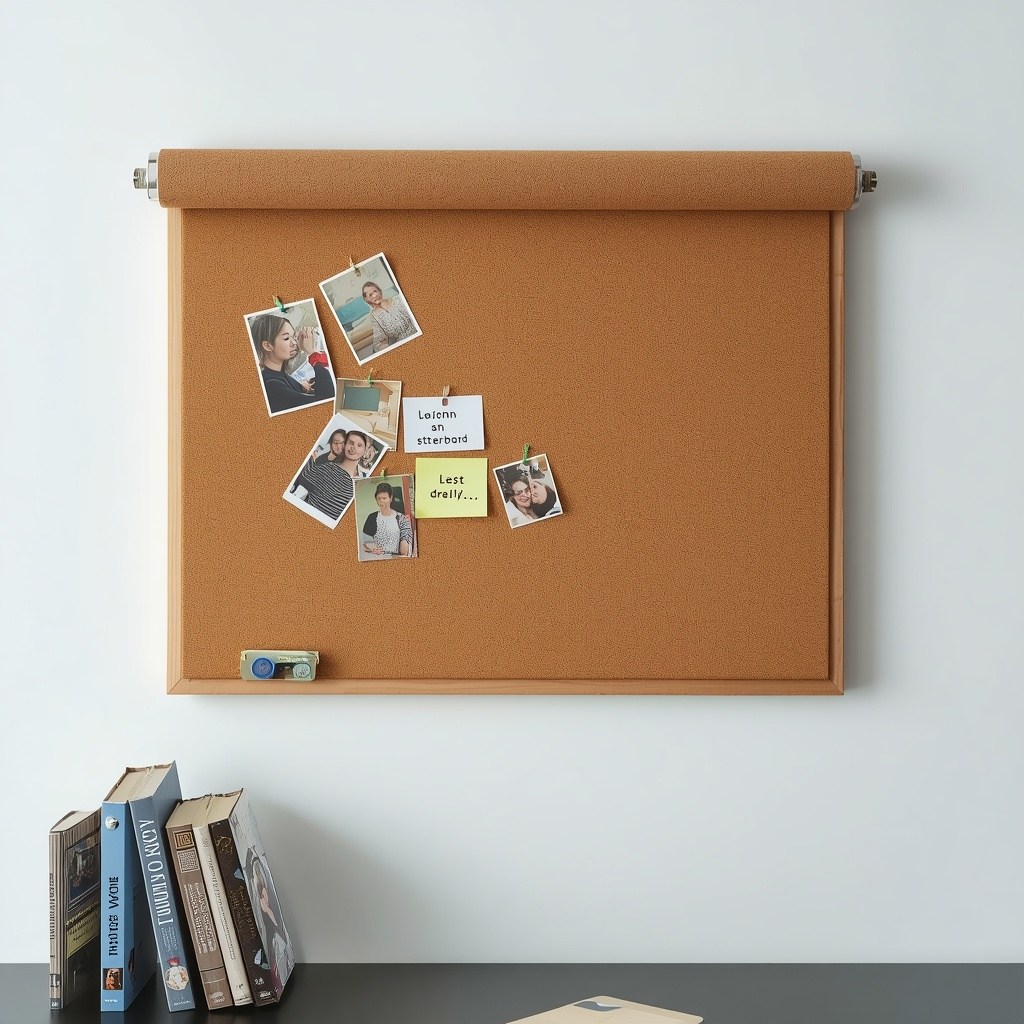
Using a cork roll allows you to create a pin board in almost any size or shape. This option is especially useful if you have an unusual wall space or want a board larger than standard store-bought versions. Cork rolls are easy to trim using basic tools and provide plenty of flexibility for personalised projects. Whether framed or mounted directly on the wall, they create a practical surface for displaying photos, notes, calendars, and reminders.
Materials Needed
- Cork roll
- Craft knife or scissors
- Ruler
- Pencil
- Mounting strips or frame
How to Make It
Measure the desired dimensions carefully before marking the cork. Cut along the guide lines using a sharp knife or scissors, then lightly smooth any rough edges if needed. Mount the finished cork inside a frame or attach it directly to the wall using strong adhesive strips.
Design a Ribbon Memo Board
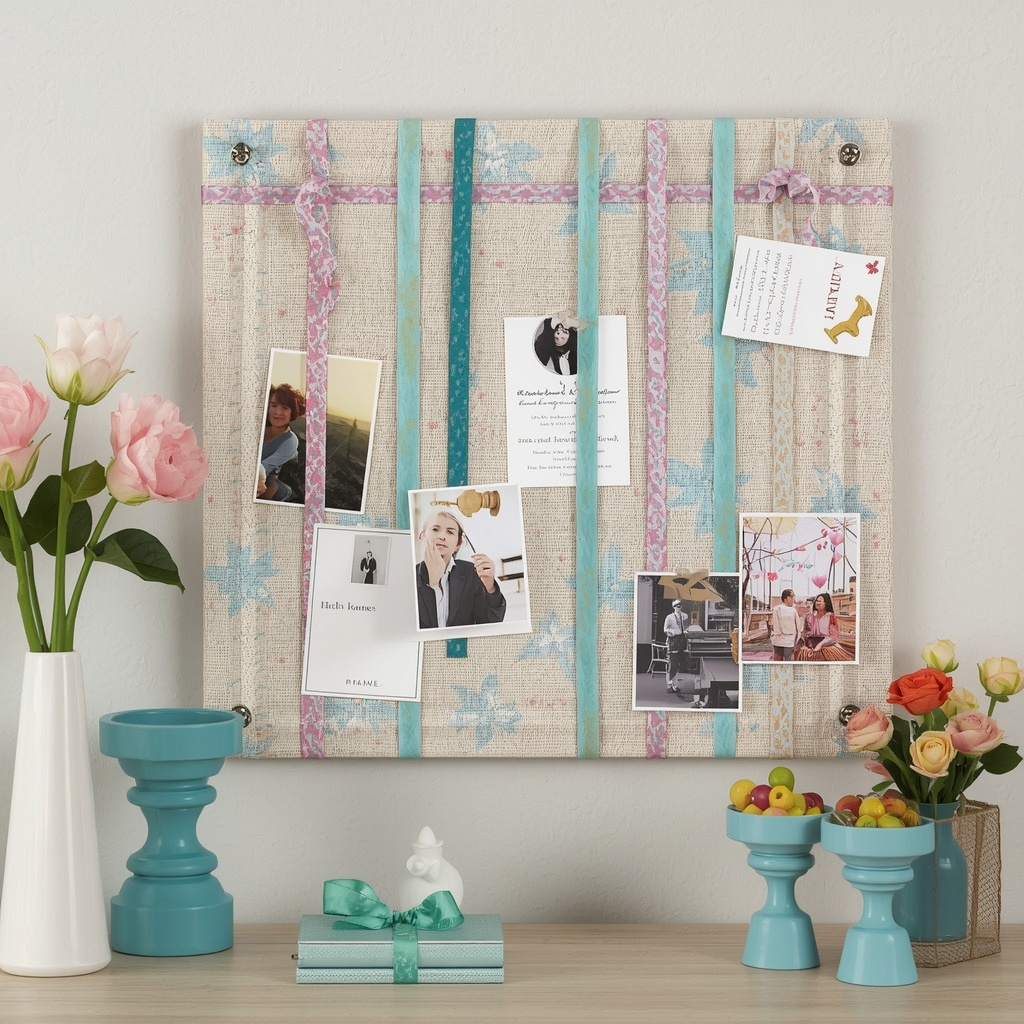
A ribbon memo board offers a decorative alternative to traditional push pins by holding papers beneath crisscrossed ribbons. The woven pattern creates an attractive display while making it easy to swap photographs, invitations, greeting cards, or reminders. Matching the ribbon with the fabric background gives the board a coordinated appearance that works beautifully in bedrooms, craft rooms, or home offices.
Materials Needed
- Fabric-covered board
- Decorative ribbon
- Staple gun
- Scissors
How to Make It
Cover the board with fabric before arranging ribbon diagonally across the surface. Secure each ribbon to the back using staples, then repeat in the opposite direction to create a diamond pattern. Once complete, simply slide photographs and notes beneath the ribbon intersections.
Build a Practical Desk Pin Board
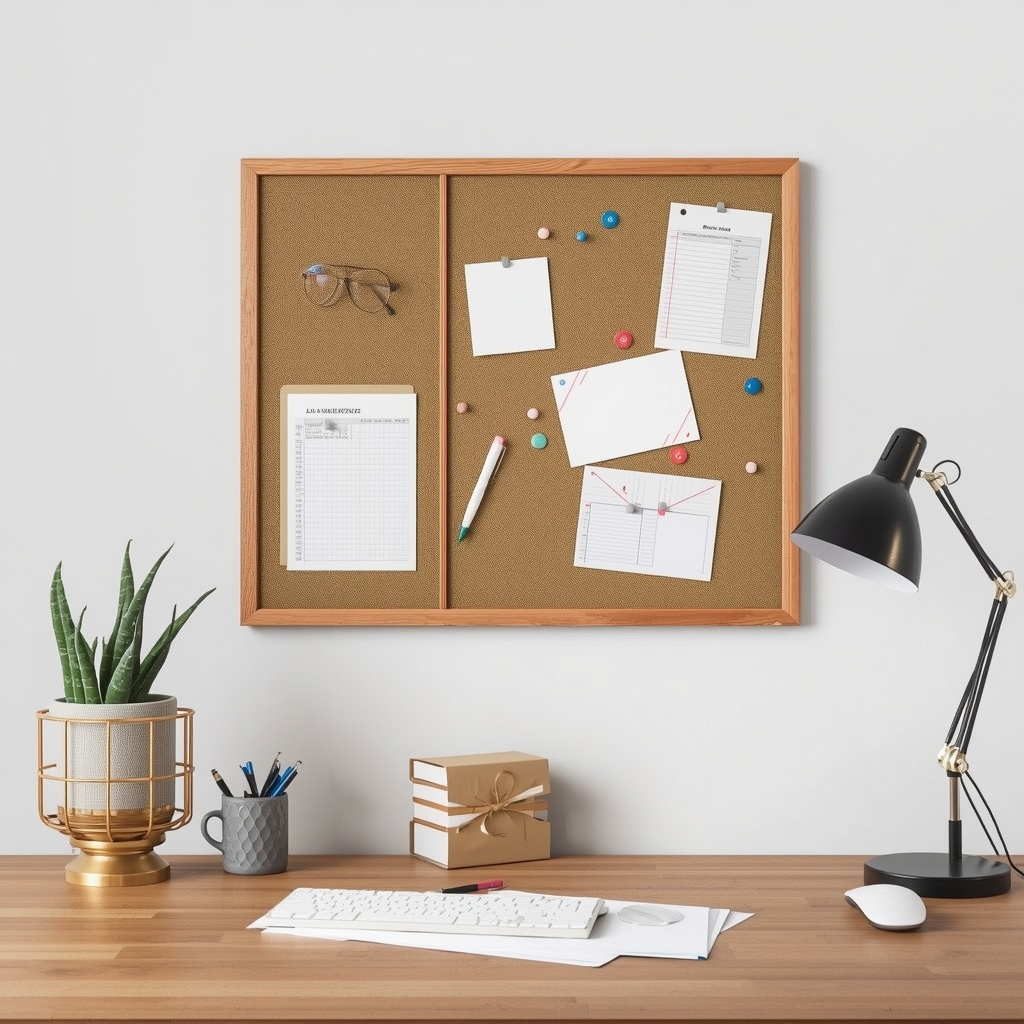
A compact pin board positioned above your desk helps keep important information visible while you work. Instead of searching through notebooks or drawers, reminders and schedules remain within easy view. Dividing the board into sections for tasks, deadlines, and reference notes makes organisation even easier. This simple addition can improve productivity while keeping your workspace neat and clutter-free.
Materials Needed
- Cork board
- Frame or border trim
- Mounting hardware
- Push pins
- Washi tape
How to Make It
Measure the available wall space above your desk before selecting or cutting a cork board to fit. Frame the edges for a finished appearance, mount it at a comfortable viewing height, and use tape or ribbon to divide it into organised sections.
Create a Cardboard Pin Board for Children
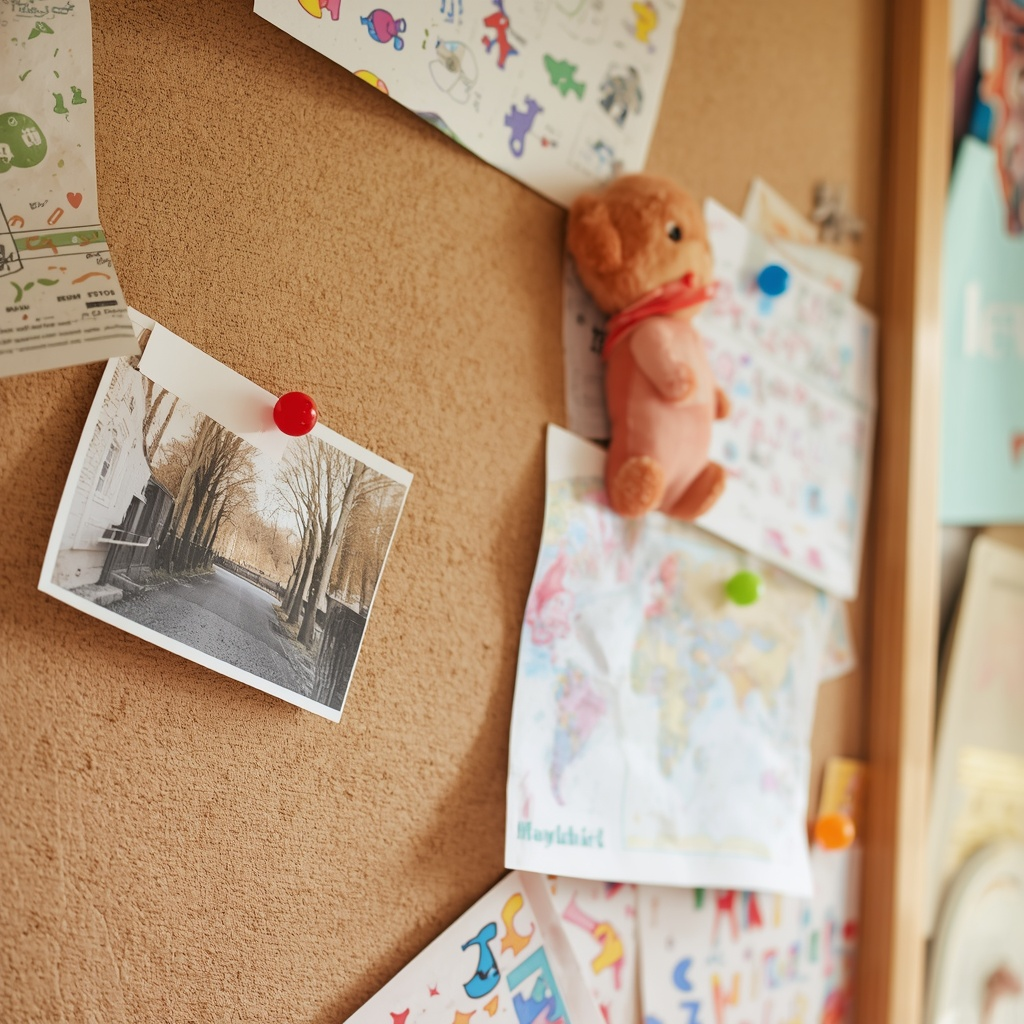
A cardboard pin board is an affordable project that works especially well in children’s bedrooms or playrooms. Layering several sheets of sturdy cardboard creates enough thickness to hold push pins securely. Covering the board with colourful fabric makes it more durable while adding a cheerful look. Children can use it to display artwork, certificates, photos, or school reminders, making the board both decorative and practical.
Materials Needed
- Corrugated cardboard
- Bright fabric
- Craft glue
- Staple gun
How to Make It
Cut several identical cardboard pieces and glue them together to create a strong base. Allow the layers to dry completely before wrapping them in fabric and stapling the material to the back. Mount the finished board using adhesive strips or small nails.
Make a Travel-Themed Pin Board
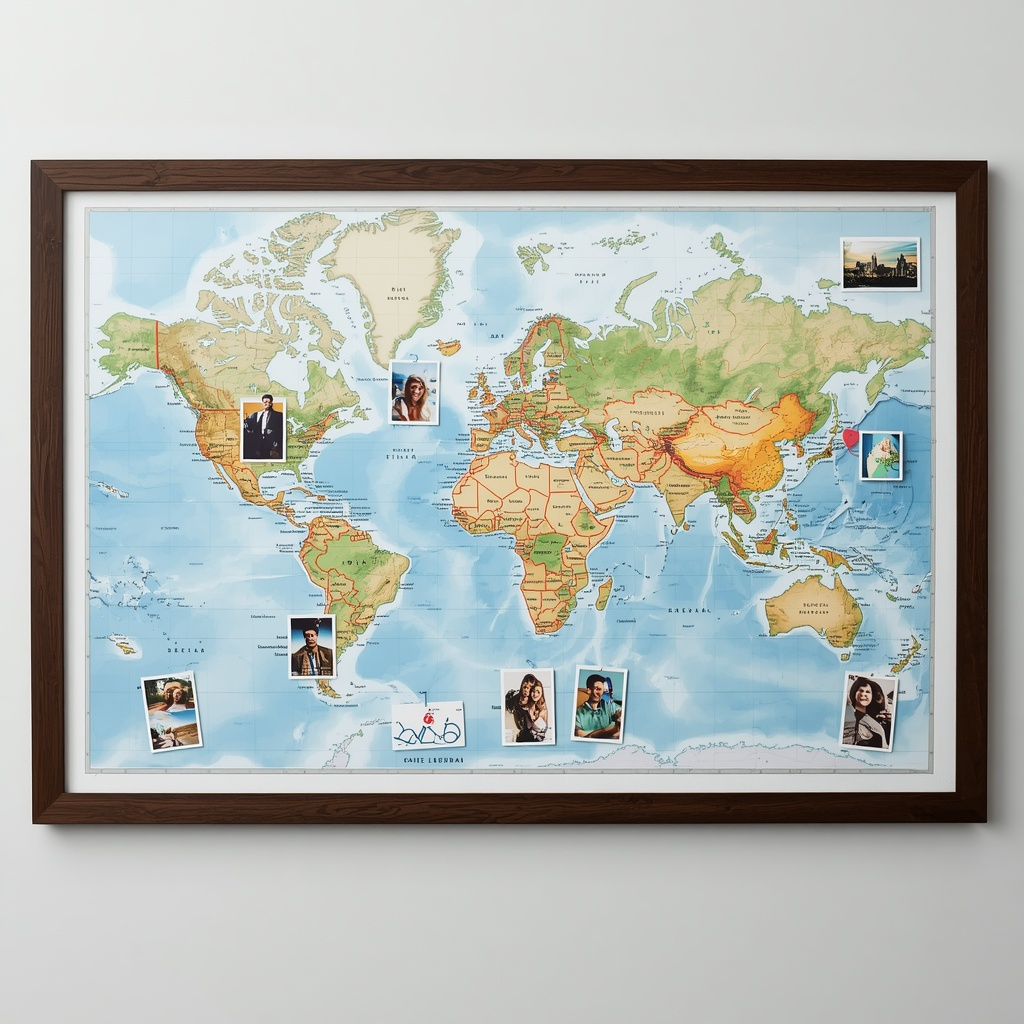
Turn your travel memories into an interactive display by combining a cork board with a printed map. This creative project lets you mark places you’ve visited while leaving room to highlight future destinations. It also provides space around the map for holiday photos, postcards, tickets, and travel notes, creating a display that grows with every new adventure.
Materials Needed
- Cork board
- Printed map
- Decoupage medium
- Foam brush
- Coloured push pins
How to Make It
Apply a thin layer of decoupage medium to the cork surface before carefully placing the printed map on top. Smooth away any air bubbles, then seal it with another light coat. Once dry, use coloured pins to mark memorable destinations and future travel plans.
Make an Affordable DIY Pin Board
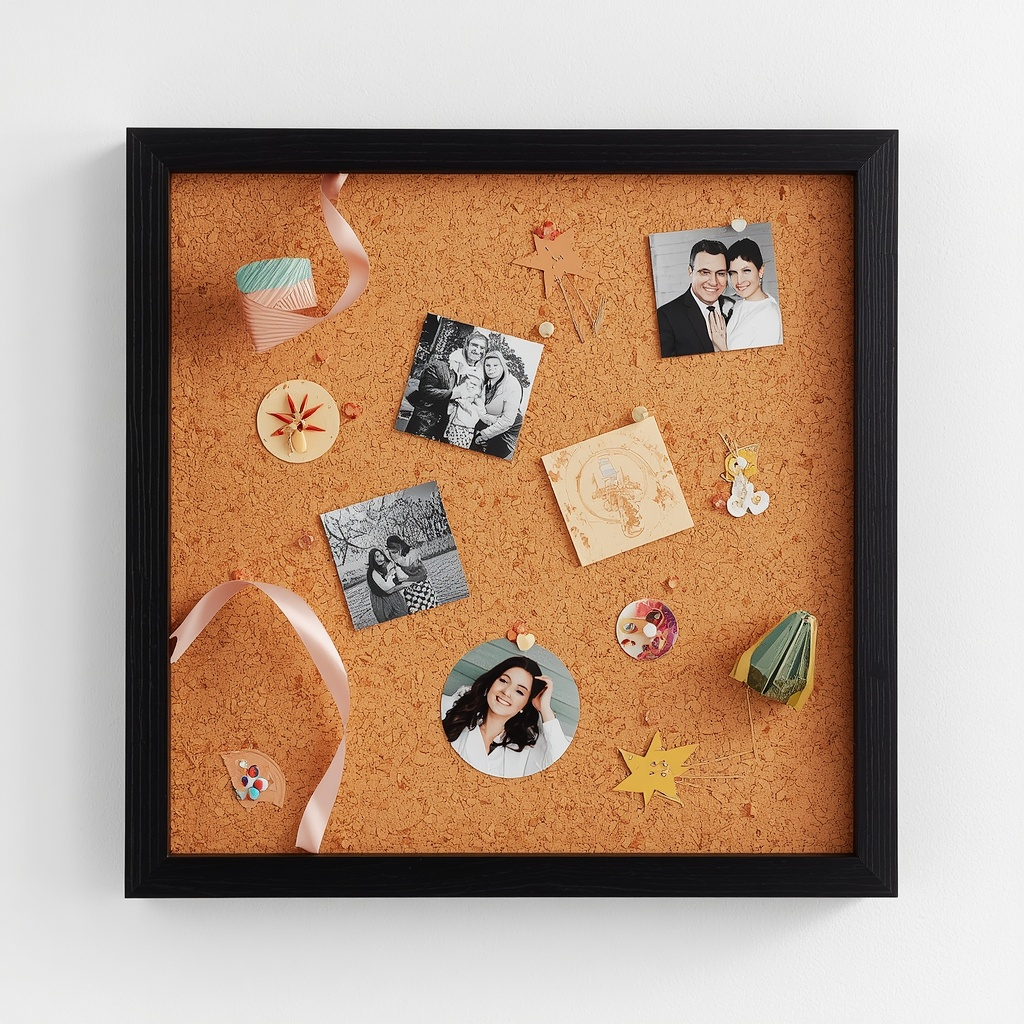
Creating a stylish pin board does not require expensive materials. Cork tiles, craft paint, ribbon, and simple decorating supplies can be combined to produce an attractive board on a small budget. This project is perfect for first homes, student rooms, or anyone looking for an inexpensive weekend craft that still looks polished when completed.
Materials Needed
- Cork tiles or cork board
- Craft paint
- Decorative ribbon
- Hot glue gun
How to Make It
Arrange the cork tiles into your preferred shape if using multiple pieces. Paint any visible borders before attaching ribbon around the outside with hot glue. Once dry, mount the board securely and decorate it with photos, reminders, and inspirational notes.
Build a Pin Board for Your Study Space
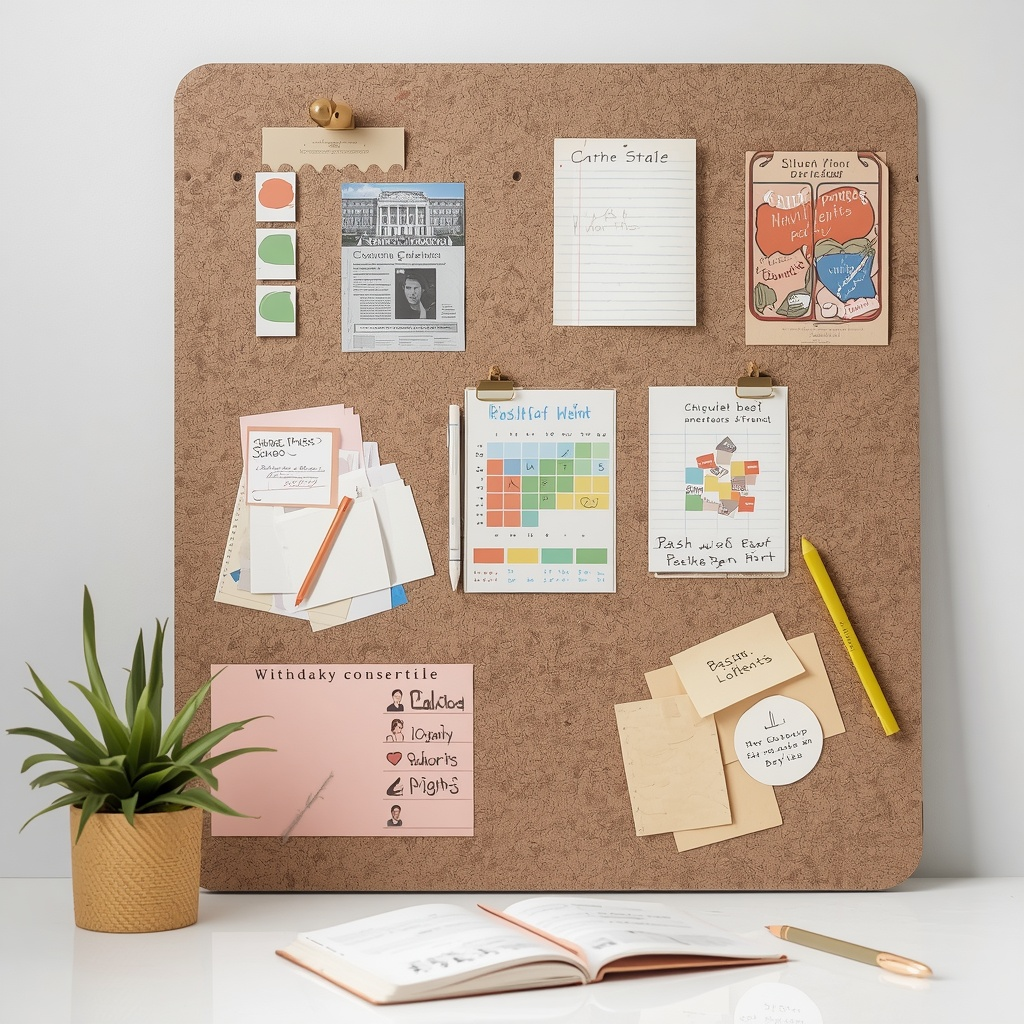
A study-area pin board helps students organise assignments, schedules, revision notes, and important reminders in one central location. A slightly larger board provides room for changing projects throughout the school year. Colour coding different subjects or priorities can make information easier to locate while encouraging better organisation and time management.
Materials Needed
- Cork board
- Frame or trim
- Coloured push pins
- Mounting hardware
How to Make It
Measure the wall above your study table and install a board that fits comfortably within the space. Add a simple frame if desired, mount it at eye level, and organise sections using coloured pins or labels for each subject.
Design a Soft Aesthetic Pin Board
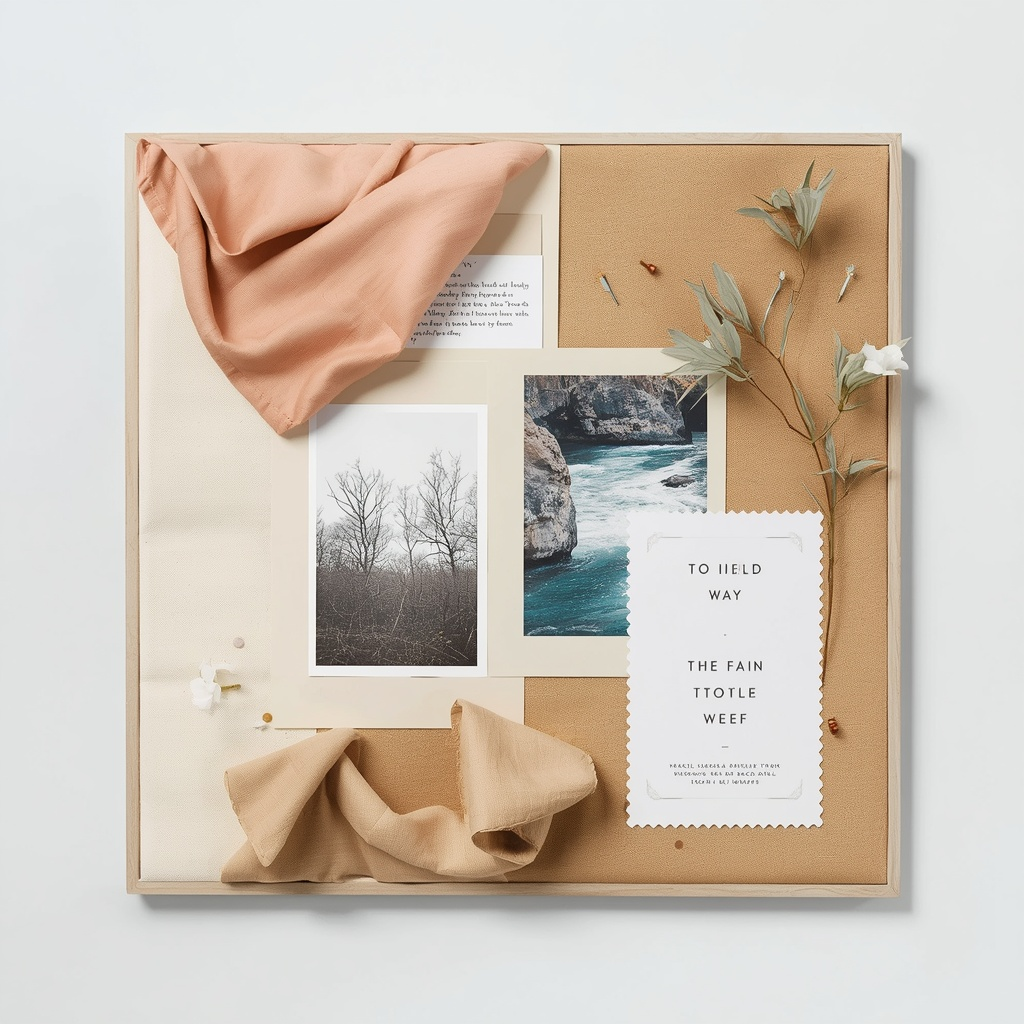
Aesthetic pin boards combine practical organisation with decorative styling. Soft fabrics, printed photographs, inspirational quotes, and natural elements work together to create an attractive display that reflects your personality. Light colours such as cream or blush provide a calming background while metallic push pins add subtle detail without overwhelming the design.
Materials Needed
- Fabric-covered board
- Decorative push pins
- Printed photos
- Dried flowers
- Quote cards
How to Make It
Wrap the board in light-coloured fabric before arranging photographs at different angles. Add dried flowers and inspirational cards between the photos to create a balanced composition. Adjust the layout until everything feels visually pleasing.
Organise a Large Office Pin Board
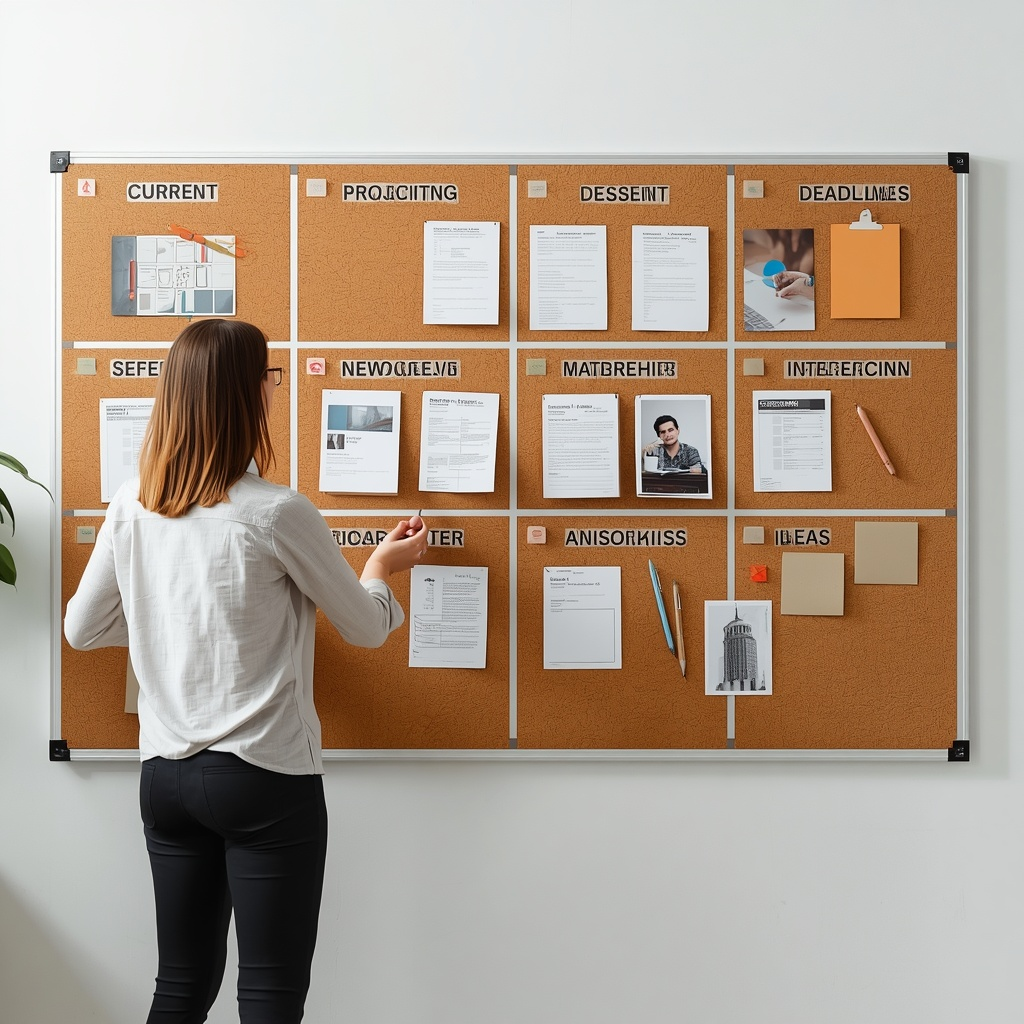
A large office pin board becomes much more useful when divided into clearly labelled sections. Separating current projects, deadlines, reference materials, and ideas prevents important information from becoming mixed together. Maintaining an organised layout also makes it easier to update the board regularly, ensuring it remains a productive workspace rather than simply another wall decoration.
Materials Needed
- Large cork board
- Ribbon or washi tape
- Labels
- Push pins
How to Make It
Mount the board where it is easy to see while working. Use ribbon or tape to divide it into organised sections, label each area clearly, and regularly remove outdated papers to keep the display tidy.
Create a Gallery Wall with Multiple Pin Boards
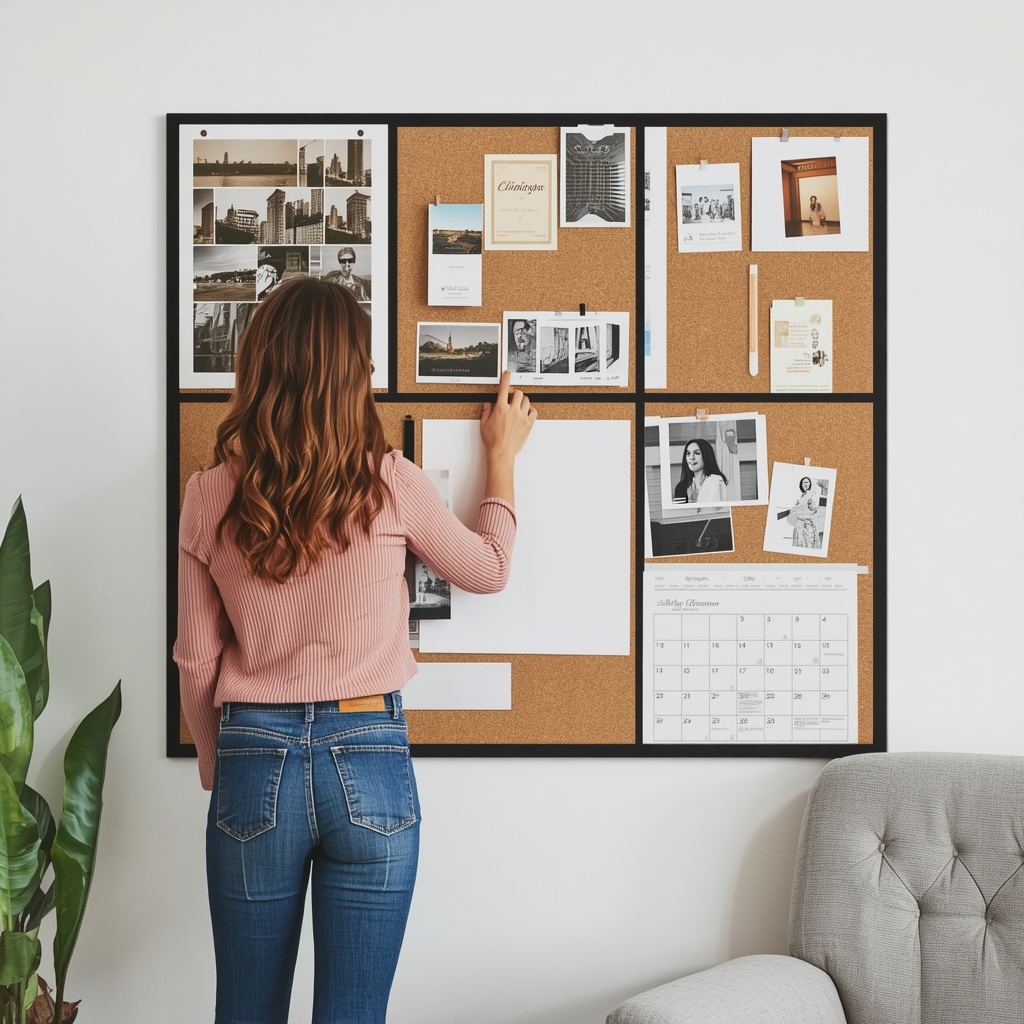
Instead of relying on one oversized board, consider arranging several matching pin boards together. This gallery-style layout creates visual interest while allowing each board to serve a specific purpose. Separate boards can be dedicated to photographs, calendars, reminders, inspirational ideas, or creative projects, making it easier to stay organised without overcrowding a single display.
Turn Fabric Scraps into a Pin Board
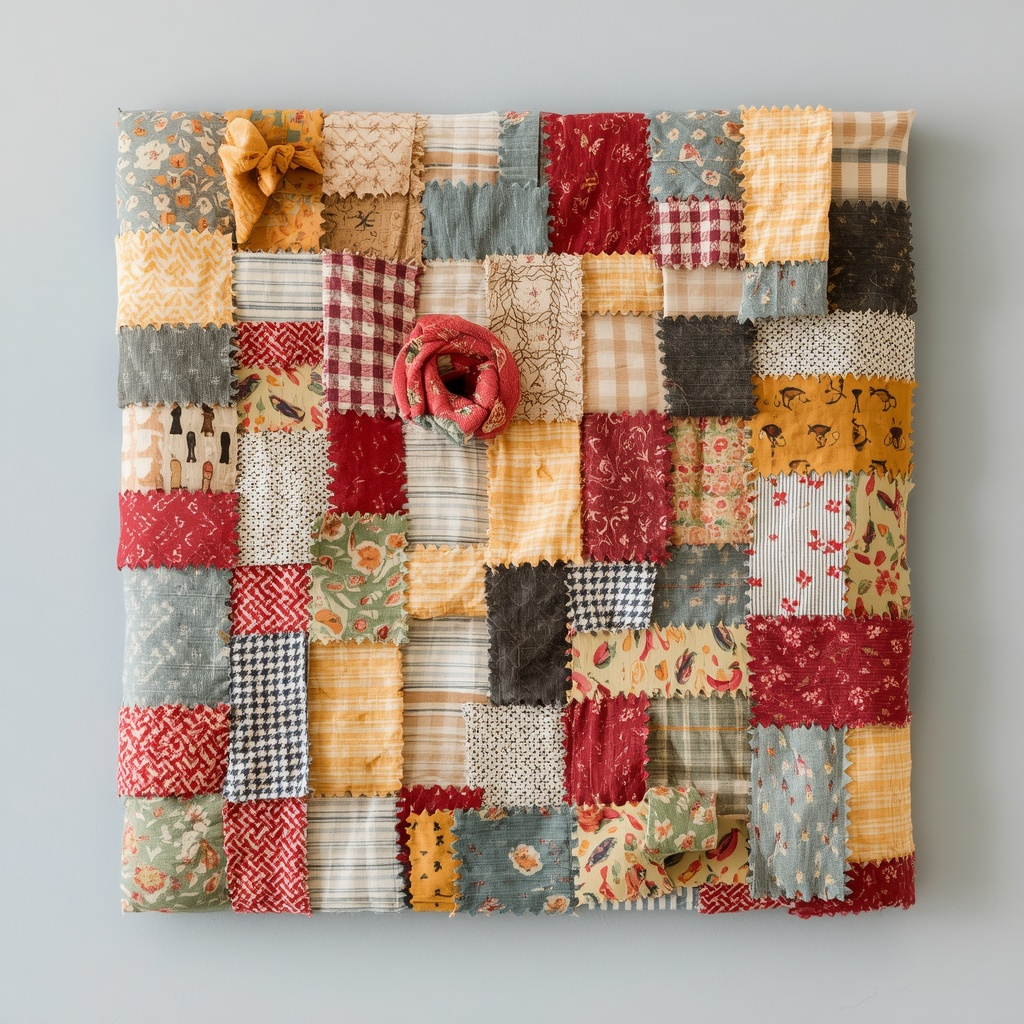
Leftover fabric from sewing or craft projects can easily be transformed into a unique patchwork pin board. Combining different colours and patterns creates texture while giving unused materials a second life. This approach is both creative and economical, resulting in a one-of-a-kind display that reflects your personal style while reducing fabric waste.
Make a Picture Frame Pin Board Without Cork
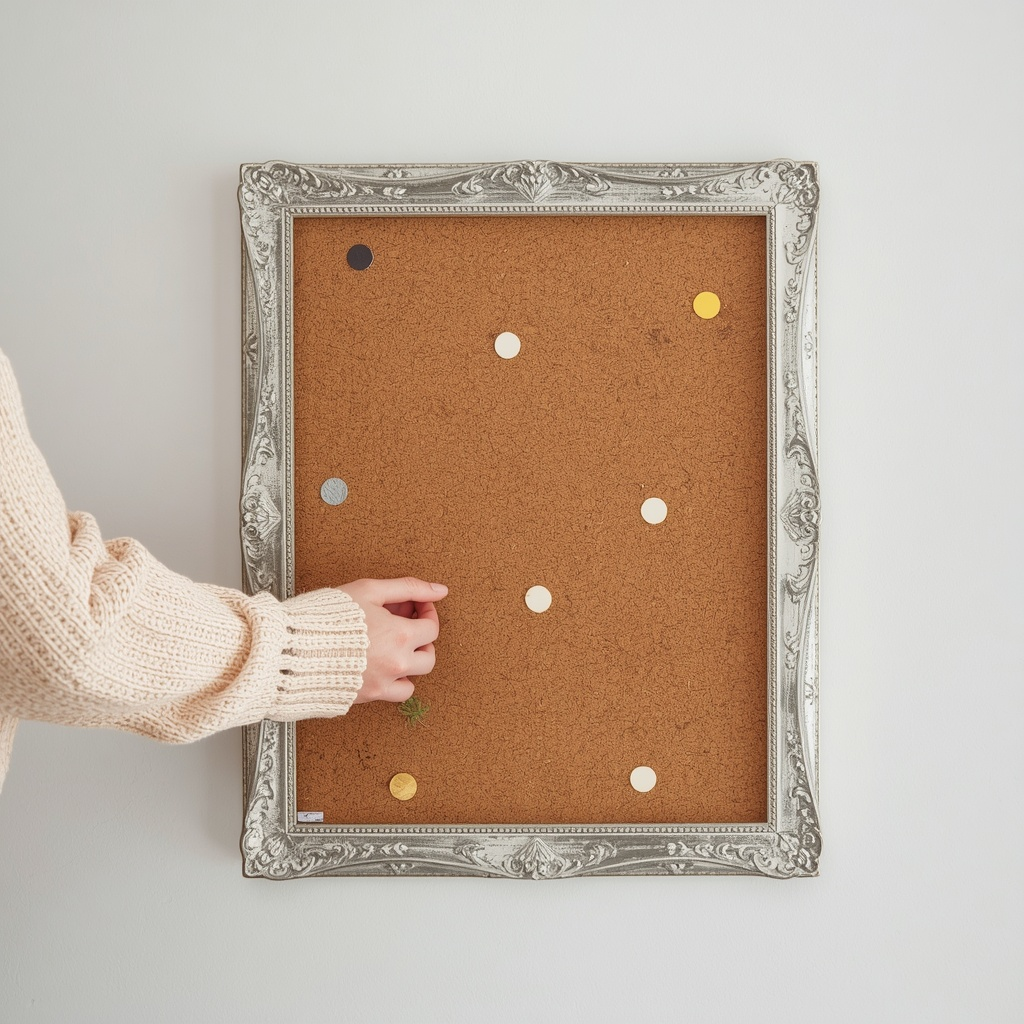
If cork is unavailable, foam board provides a lightweight alternative for creating a functional pin board. Placed inside a decorative picture frame and covered with fabric if desired, foam board offers a clean appearance while remaining easy to hang. This option is particularly useful for temporary displays or rental homes where lightweight materials are preferred.
Give Every Pin Board a Single Purpose
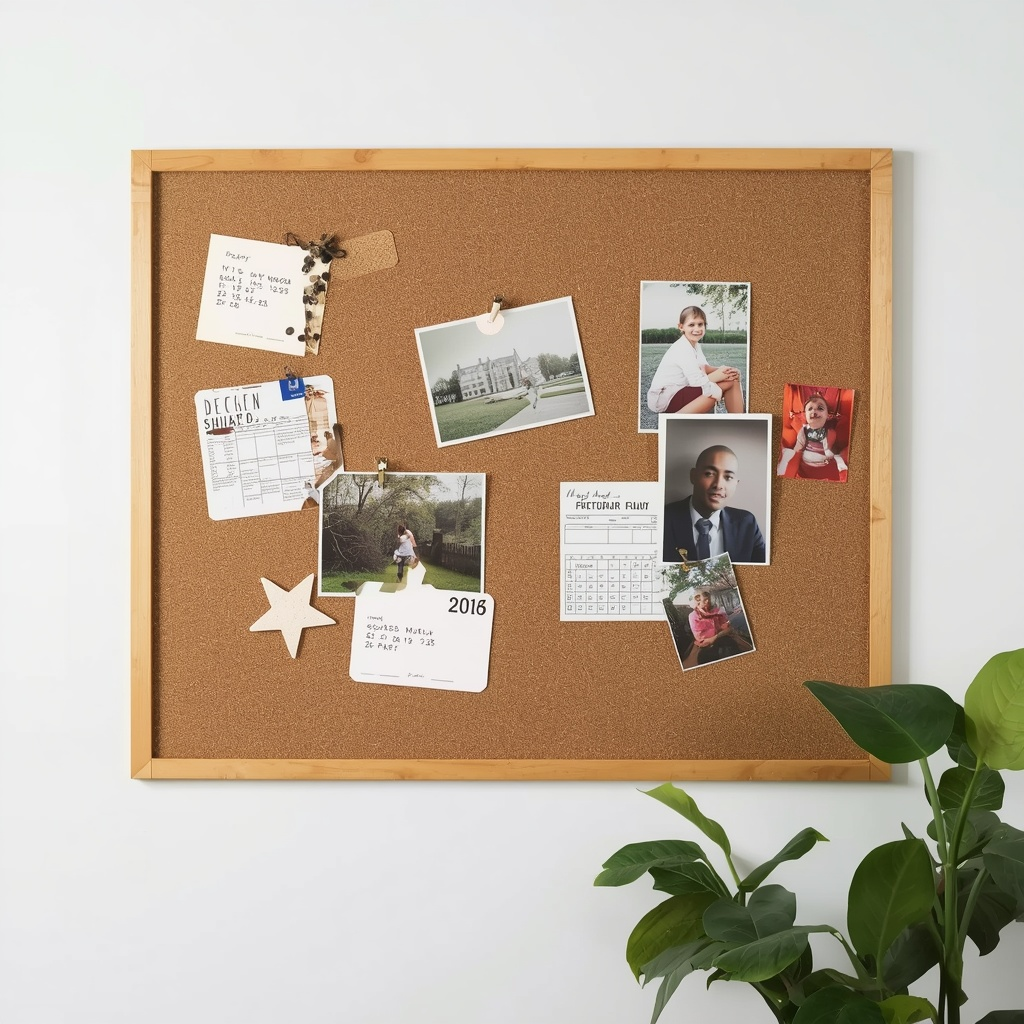
One of the simplest ways to keep a pin board organised is to dedicate it to a single purpose. Whether you use it for family photos, daily reminders, project planning, or a monthly calendar, limiting its function prevents unnecessary clutter. As your needs change, you can always create additional boards for different tasks while keeping each display neat, practical, and easy to maintain.