
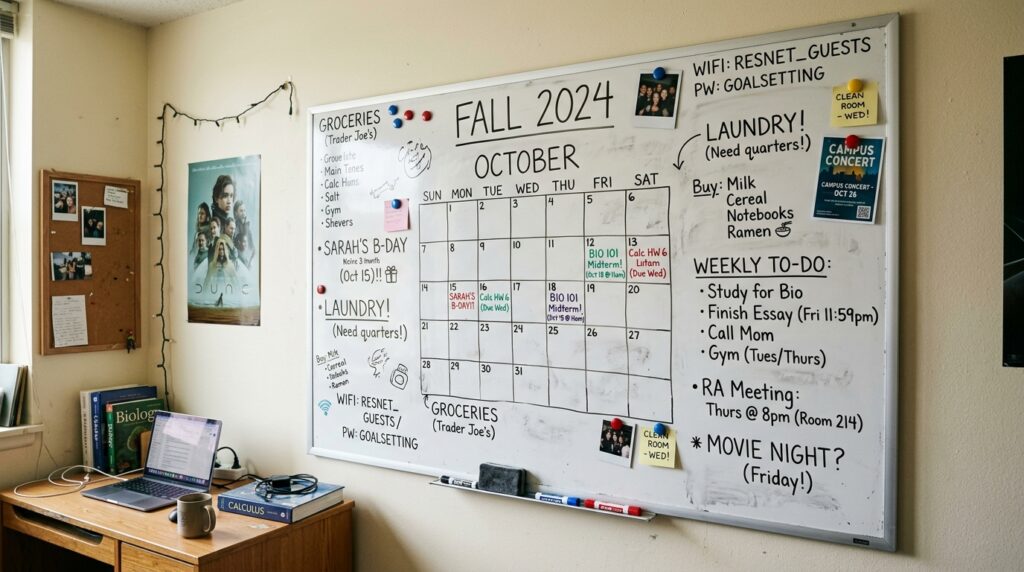
A whiteboard can be one of the most useful things to have in a dorm room, especially when you’re trying to stay organized while keeping up with classes, activities, and everyday tasks. But it doesn’t have to be just a place for writing reminders or assignments. With a little creativity, you can turn your dorm whiteboard into a fun and practical part of your room decor.
From weekly planners and study trackers to inspirational designs and creative doodles, there are countless ways to personalize it. Explore these dorm whiteboard ideas and discover simple ways to make your space more organized, useful, and uniquely yours.
Classic Weekly Whiteboard Layout
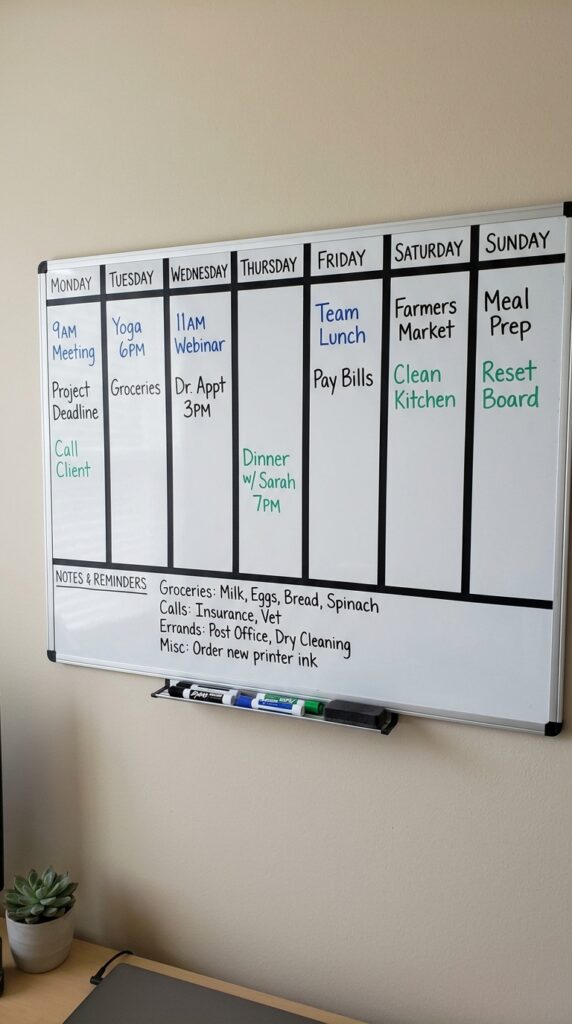
A simple weekly planner is one of the easiest ways to make a whiteboard genuinely useful. Divide the surface into seven sections so each day has its own space without making the board feel cramped or overly complicated.
I also like reserving a slim area along the bottom for anything that doesn’t belong to one particular day. Grocery items, phone calls, errands, and quick reminders can all live there instead of getting squeezed into the daily sections.
- Use thin tape to create clean day divisions.
- Three marker colors are enough to add visual organization.
- A quick Sunday reset keeps the layout ready for the week ahead.
Simple Goal Progress Board
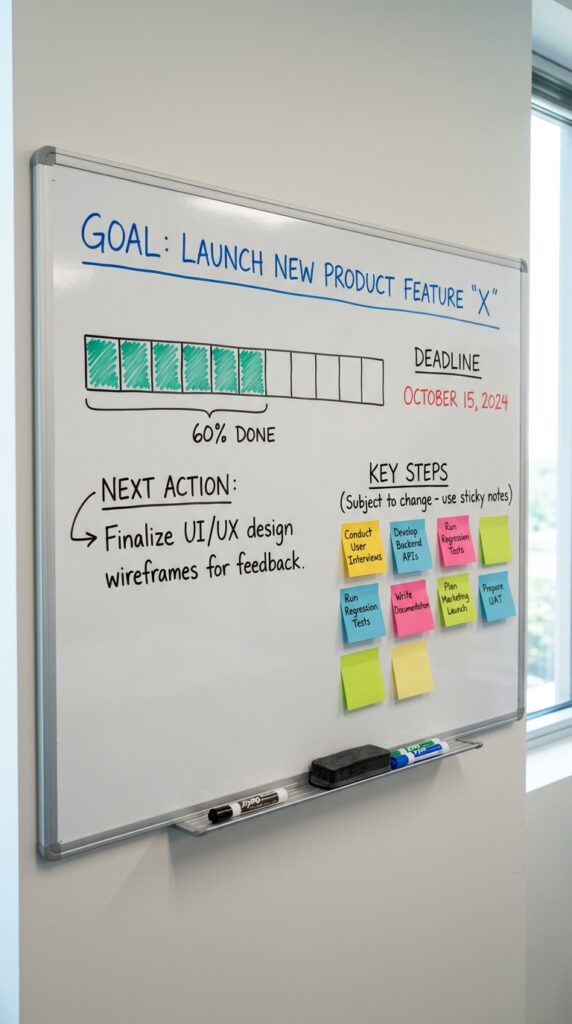
There’s something satisfying about seeing a goal move closer to completion. A goal-tracking whiteboard works especially well when it focuses on one important objective rather than filling the entire surface with competing tasks.
Try adding a small progress tracker, a section for the next action, and a deadline. Those few details provide enough structure to keep the goal visible while still leaving the board easy to update.
- Choose one main goal to keep your attention focused.
- Use sticky notes when the individual steps are likely to change.
- Add a simple progress bar for an easy visual reminder.
Organized Grid Whiteboard
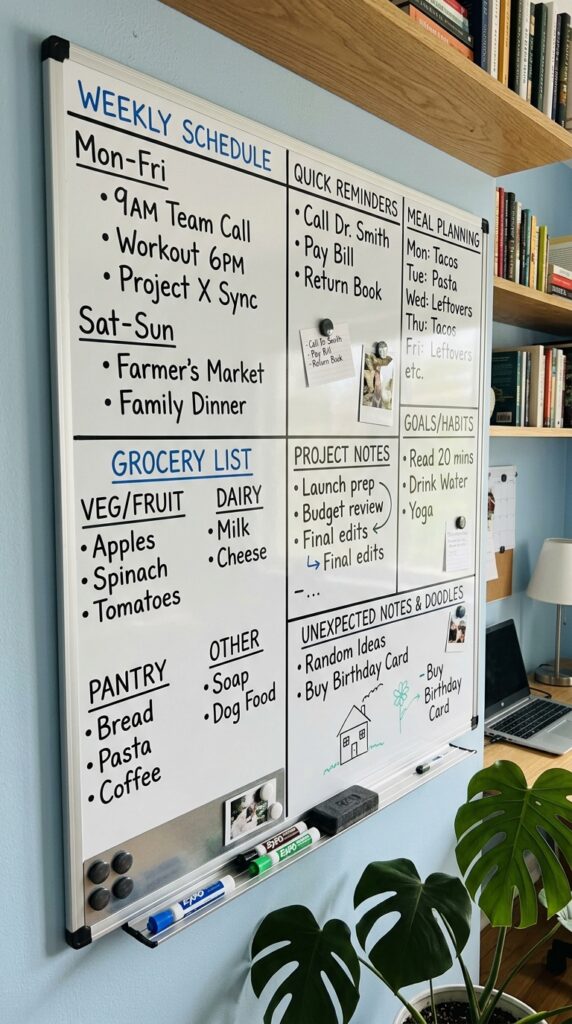
A grid layout is perfect when you need to manage several different types of information at once. Instead of having random notes scattered across the board, each category gets its own designated space.
Don’t feel like every box needs to be the same size. Make larger sections for grocery lists, schedules, or project notes and smaller ones for quick reminders. Permanent lines can also save time because you won’t have to recreate the layout after every cleaning session.
- Permanent grid lines make weekly resets much faster.
- Different-sized sections are more practical than identical boxes.
- Leave one flexible area available for unexpected notes.
Sweet Quote Display Corner
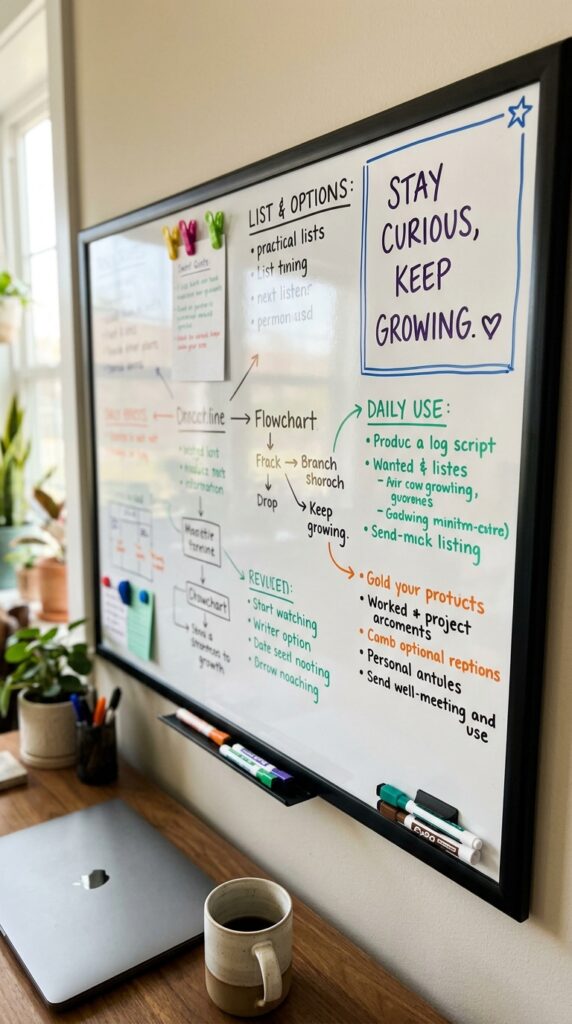
A small quote section can instantly make a practical whiteboard feel more personal. Rather than using valuable writing space for a large decorative message, dedicate just one corner to something encouraging or fun.
Keep the quote short enough that you can replace it whenever you want. A tiny star, underline, heart, or simple border can add personality without overwhelming the rest of the board.
- A framed dry-erase surface makes changing the quote easy.
- Use a light background if you want darker writing to stand out.
- Rotate the message whenever you need a fresh bit of motivation.
Family Command Center Board
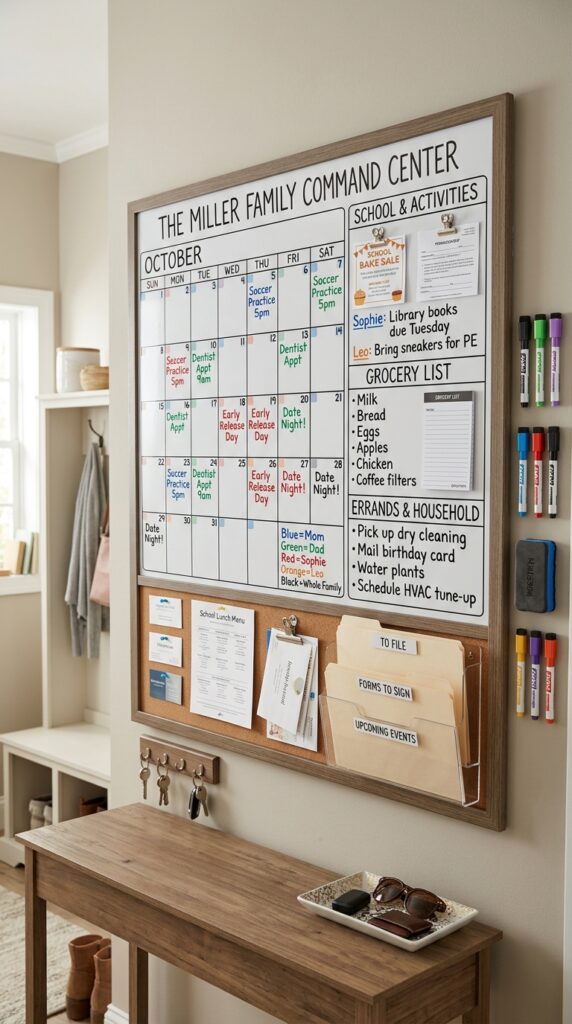
A family command board can be incredibly helpful when paperwork and reminders seem to multiply around the house. Give important categories their own areas, such as appointments, shopping, school activities, errands, and household reminders.
The key is to build the board around the information your family actually uses. There’s no need to create ten different sections simply because they look organized. A smaller board that everyone updates consistently will be much more useful.
- Start with schedules and important reminders before adding extras.
- Keep markers nearby so the board is quick to update.
- Place paper-related sections close to the main writing area.
Playful Doodle Border Board
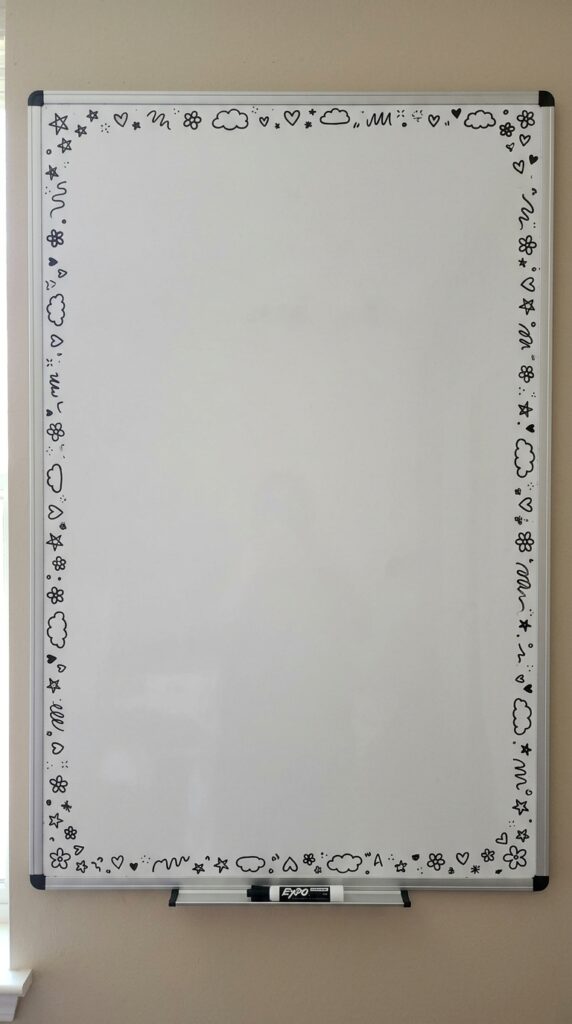
A plain whiteboard doesn’t have to look boring. Adding a border of tiny doodles such as stars, hearts, flowers, clouds, or squiggly lines can make the whole setup feel more cheerful.
The important part is keeping the decorations around the edges rather than covering the center. You want the middle of the board to remain clean and open so there’s plenty of room for schedules, lists, and everyday notes.
- Keep decorative drawings close to the outer border.
- Choose a few simple doodle shapes instead of filling every inch.
- Leave the center mostly blank for practical writing.
Adorable Weather Bear Board
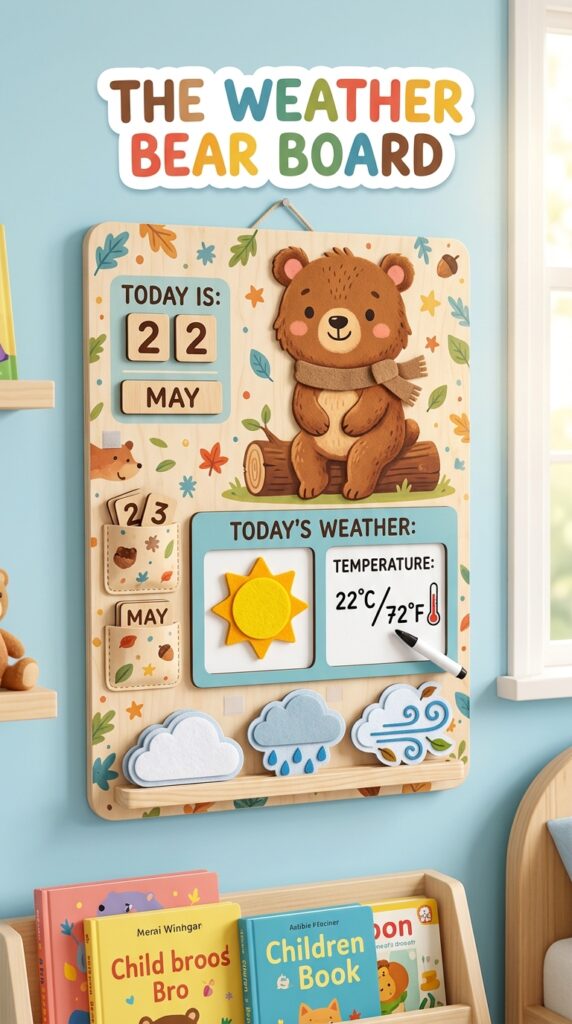
This little weather-themed board is a fun idea for bedrooms, classrooms, or family spaces. A cute bear can become the central character while simple symbols show whether the day will be sunny, cloudy, rainy, or windy.
You can also add the expected temperature beside the weather icon. Keep everything compact so the weather section feels like a cheerful daily feature rather than taking over the entire whiteboard.
- Movable weather symbols make daily updates simple.
- Include the temperature for a little extra useful information.
- Use easy-to-recognize icons that can be understood immediately.
Soft Pastel Marker Layout
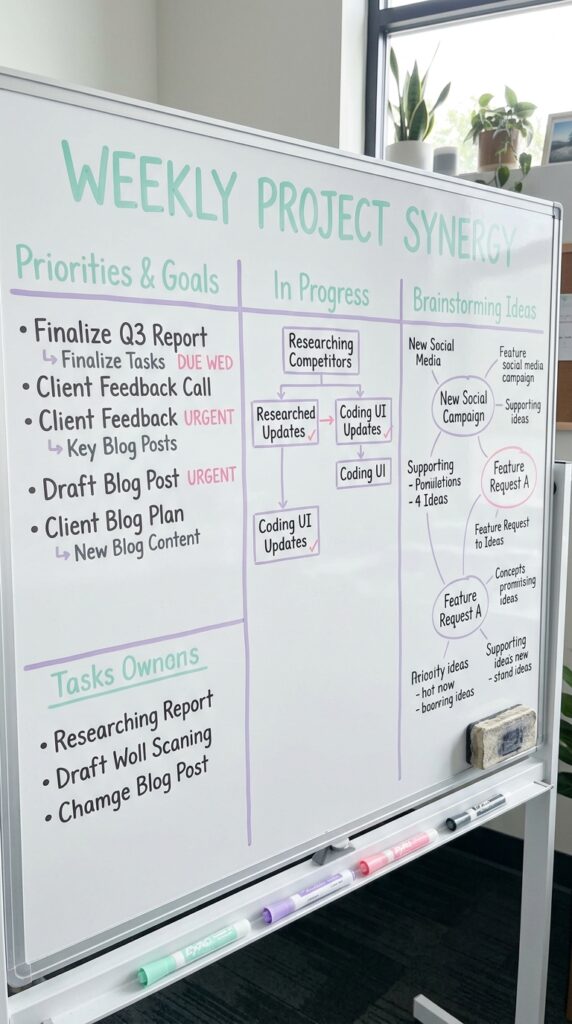
Pastel markers can give a whiteboard a much softer and calmer appearance. Instead of using a different color for every category, choose a small palette and give each shade a specific purpose.
For example, one pastel color can identify headings, another can highlight smaller details, while a darker marker handles the information that needs to be easy to read. Too many light shades can make the board difficult to scan, so keeping the palette limited usually looks better.
- Choose two or three complementary pastel shades.
- Reserve a darker marker for important information.
- Use color to organize the board rather than simply decorate it.
Happy Smiley Reminder Board
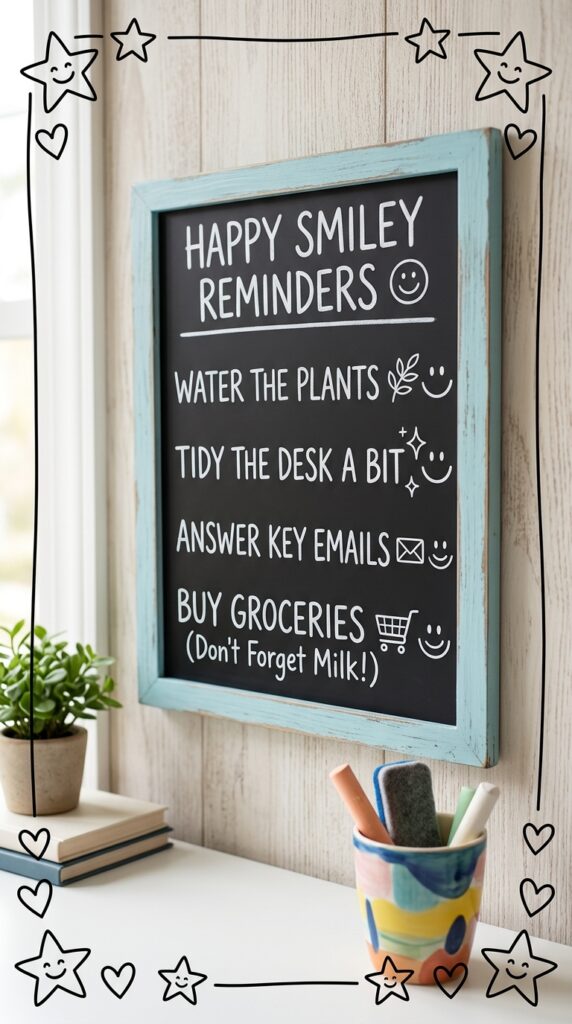
Reminders don’t always have to look like boring chores. Adding a few simple smiley faces can make a task board feel much more cheerful, especially when you’re dealing with everyday jobs you’d rather ignore.
This setup works particularly well near a home office, entryway, or desk. Keep the number of reminders small and make the writing large enough to read from a short distance.
- Use playful symbols to make routine tasks feel lighter.
- Keep only the most important reminders on the board.
- Write tasks clearly so they can be spotted at a glance.
Charming Countdown Corner
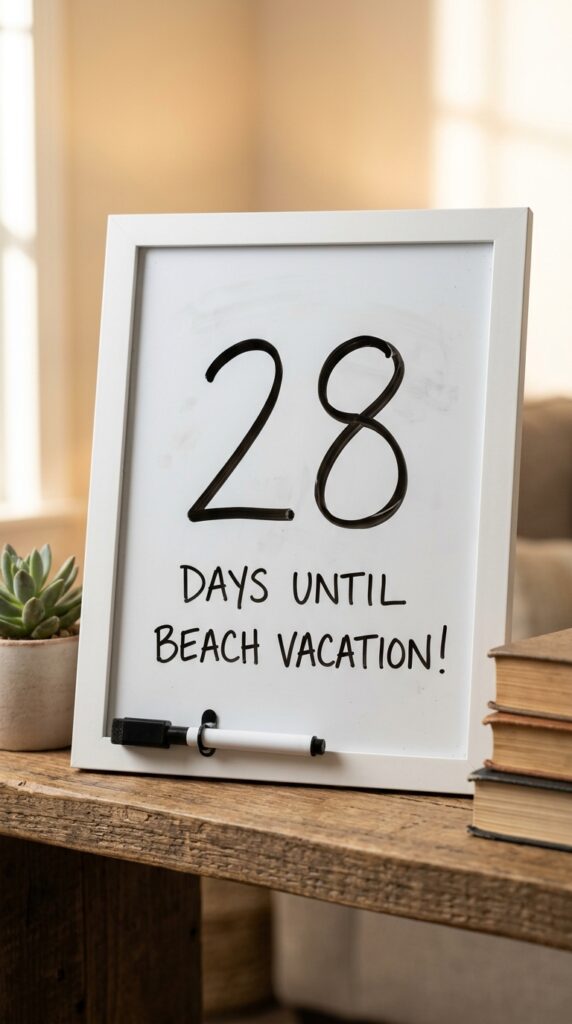
A countdown is a fun way to build anticipation for an upcoming vacation, birthday, holiday, special event, or personal milestone. The number of days remaining should be the main attraction, so make it noticeably larger than the other information.
Place the event name underneath in smaller writing and avoid filling the area with unnecessary decorations. The simplicity makes it much easier to update each day.
- Use one large number as the main focal point.
- Write the event underneath in a smaller size.
- A framed dry-erase surface makes daily changes effortless.
Washi Tape Whiteboard Frame
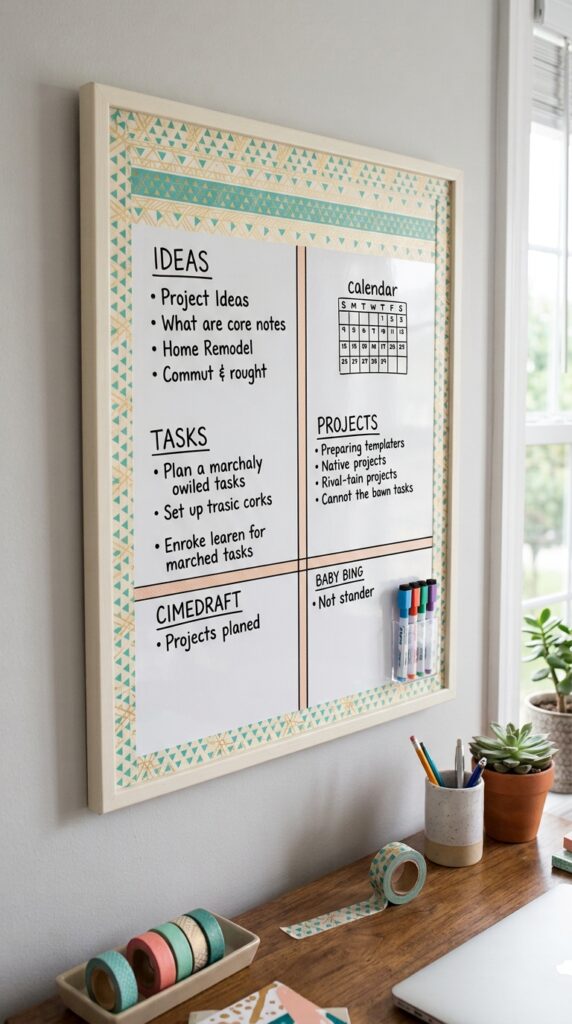
If your whiteboard has a plain or unfinished-looking frame, washi tape offers an easy way to give it some personality. You can wrap the border, create a small decorative header, or use narrow strips to divide specific sections.
One of the best things about washi tape is how easy it is to change. When you get tired of one pattern or want to match a different room, simply replace the tape instead of repainting or buying a new board.
- Stick with one or two patterns for a cleaner appearance.
- Change the tape whenever you want a fresh look.
- Narrow strips can also create useful permanent sections.
Decorative Magnet Cluster
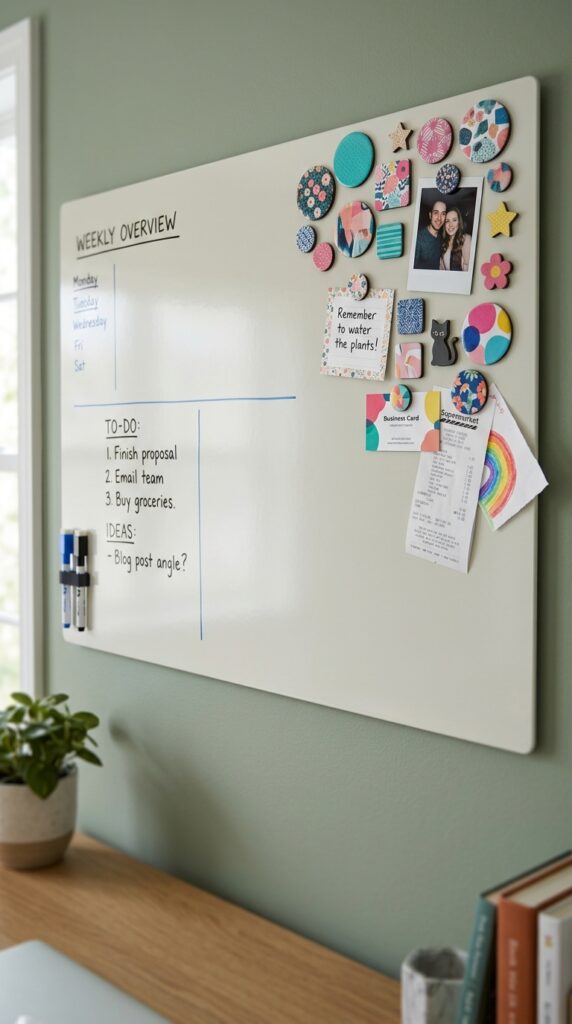
Magnets can turn an ordinary whiteboard into something much more personal while still serving a practical purpose. Use decorative magnets to hold receipts, notes, small cards, photographs, or pieces of paper you need to keep visible.
Instead of scattering magnets across the entire surface, group several of them in one corner. This creates a decorative focal point while leaving most of the board available for writing.
- Group decorative magnets together to avoid a cluttered appearance.
- Use different shapes for a playful touch.
- Keep the main writing area clear and functional.