
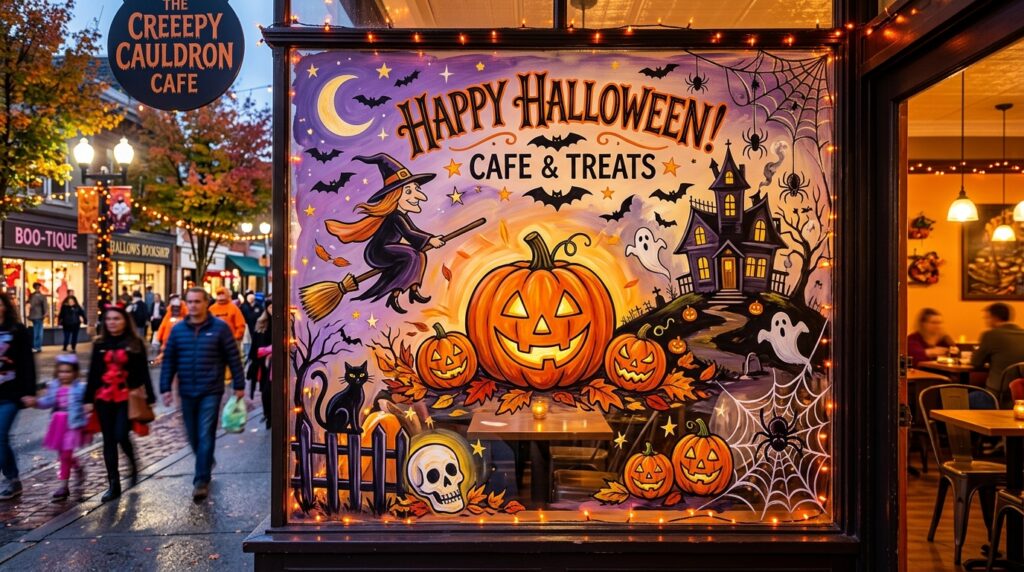
Halloween is a great time to turn ordinary windows into creative seasonal displays. With washable window paint and a little imagination, you can add spooky, playful, or colorful artwork to your home without making permanent changes. From friendly ghosts and grinning pumpkins to bats, witches, and creepy silhouettes, there are plenty of designs to suit different styles.
Window painting can also be a fun activity for families, classrooms, or Halloween parties, allowing everyone to contribute their own ideas. If you’re looking for an easy way to decorate your windows for the season, these Halloween window painting ideas can inspire a festive display that catches everyone’s attention.
Black Cat Window Painting
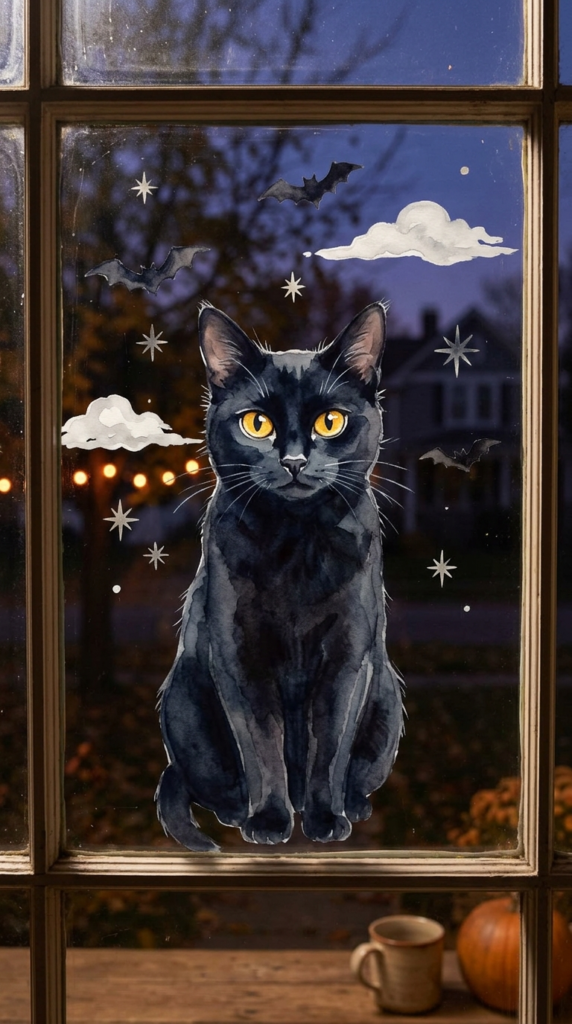
A black cat makes a wonderful focal point for a Halloween window painting. Paint the cat with deep black watercolor and give it bright golden eyes to create contrast against the glass.
You can surround the cat with a few flying bats, wispy clouds, or small stars to fill the empty areas without making the design too complicated. Soft brushwork around the fur can also give the cat a slightly mysterious appearance while keeping the artwork approachable for beginners.
Creepy Clown Glass Painting
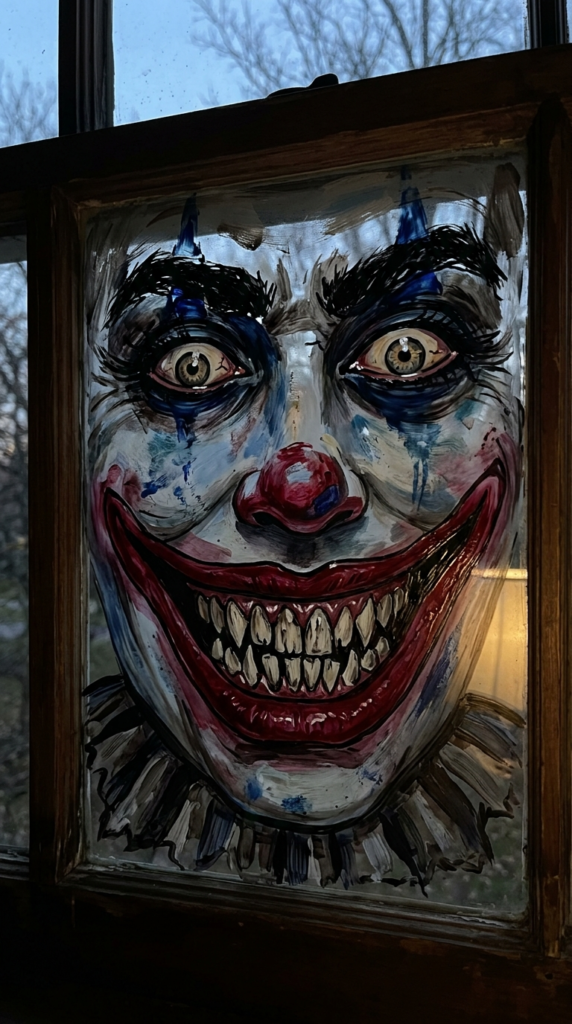
A creepy clown can turn a plain window into a dramatic Halloween display. Focus on the eyes, exaggerated smile, and sharp teeth to create the main expression before adding the rest of the face.
Rich red, dark blue, black, and muted gray tones can give the clown a more intense appearance. For a less frightening version, soften the expression and use brighter colors. Positioning the painting where outdoor or indoor lighting can shine through the glass can make the details especially noticeable after dark.
Halloween Crow Scene
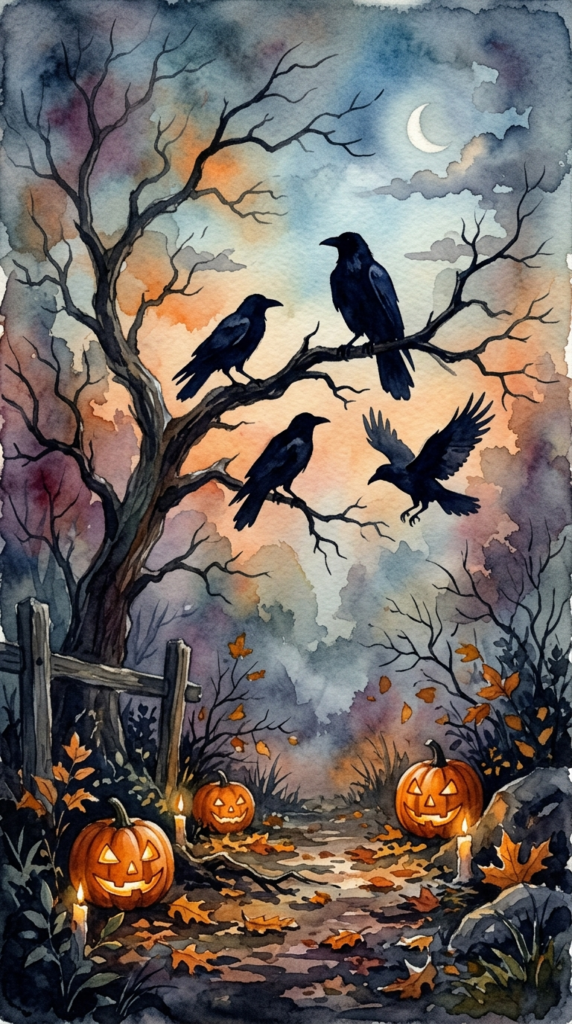
Crows fit naturally into spooky Halloween artwork because their dark silhouettes are easy to recognize. Paint one or several crows in deep black and place them against a lighter sky so their shapes remain visible.
Add crooked branches, pumpkins, or scattered leaves to build a fuller scene. Using loose watercolor strokes for the background can create a slightly misty appearance while allowing the birds to remain the main focus.
Hanging Spider Window Art
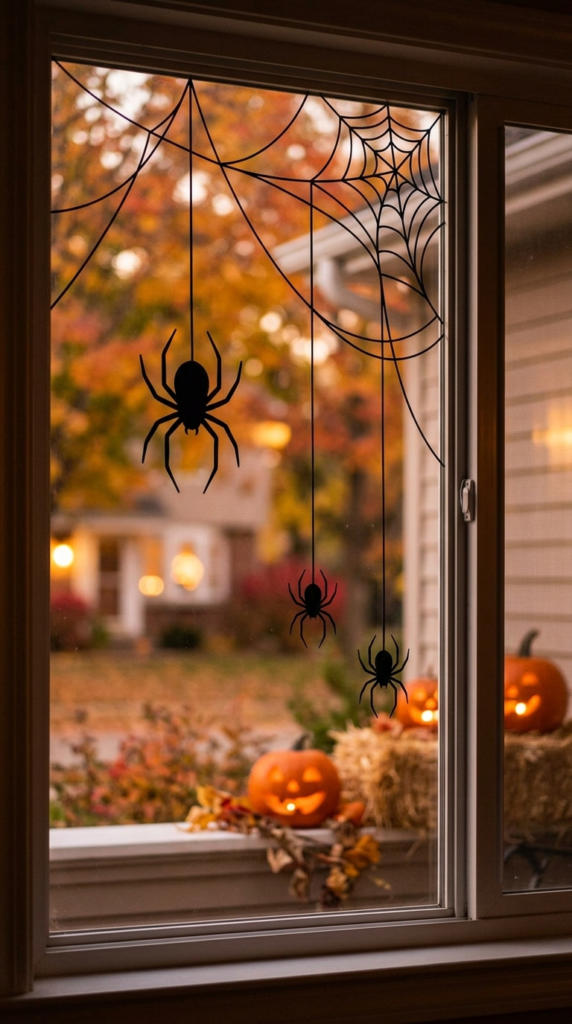
A spider descending from the top of the window can create a simple but effective Halloween scene. Use thin black lines for the web and the spider’s hanging thread so the design has a delicate appearance.
You can add several spiders at different heights to create more movement. A warm orange background, nearby pumpkins, or subtle web patterns can provide additional contrast. Keep the lines relatively clean and consistent so the spiders remain recognizable from both inside and outside.
Floating Ghosts on Glass
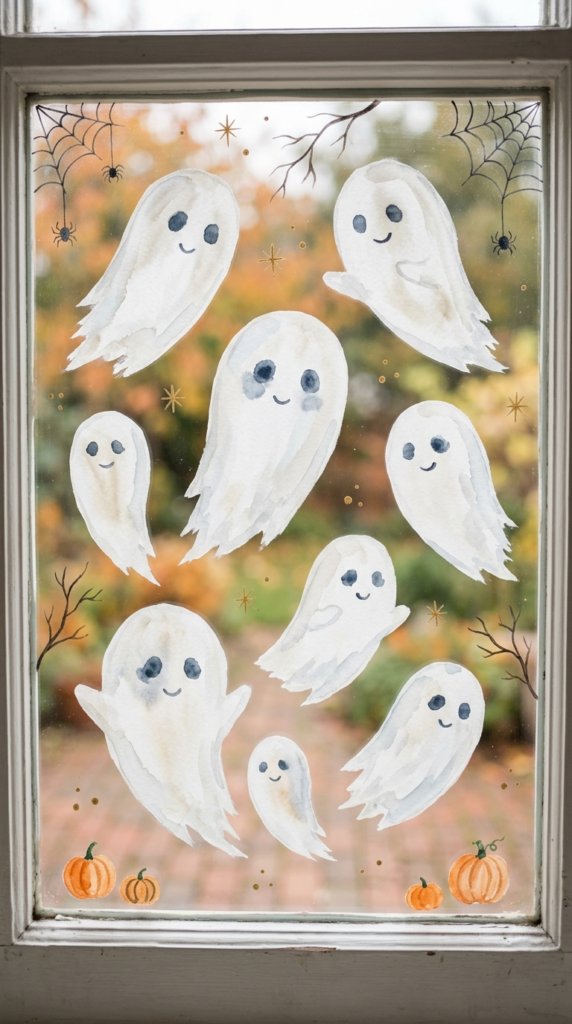
Floating ghosts can give a Halloween window a playful appearance without making it overly frightening. Use soft white watercolor for the ghost shapes and add simple dark eyes and mouths for expression.
Place the ghosts at different heights so they appear to be drifting across the window. Small pumpkins, spiders, bare branches, or stars can fill the surrounding space. Light, uneven brushstrokes around the edges can make the figures look slightly transparent.
Flying Bat Silhouettes
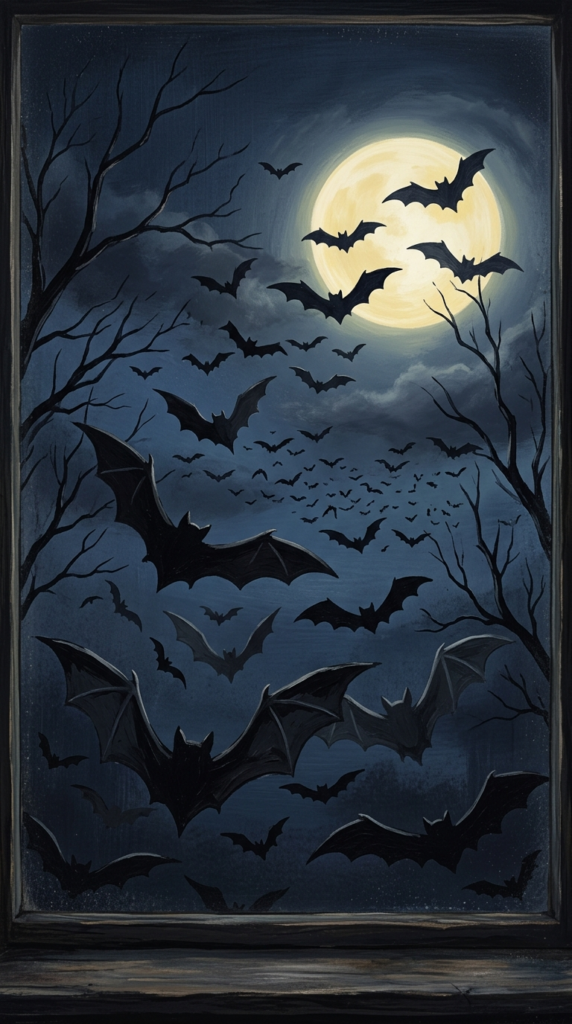
A group of flying bats can make a Halloween window look as though an entire swarm is crossing the night sky. Paint the bats in dark shades and vary their sizes to create the impression of distance.
For a more dramatic composition, add bare trees, a glowing moon, or reaching branches around the edges. Strong, defined brushstrokes work well for the wings because the silhouettes need to remain clear against the background.
Frankenstein Window Character
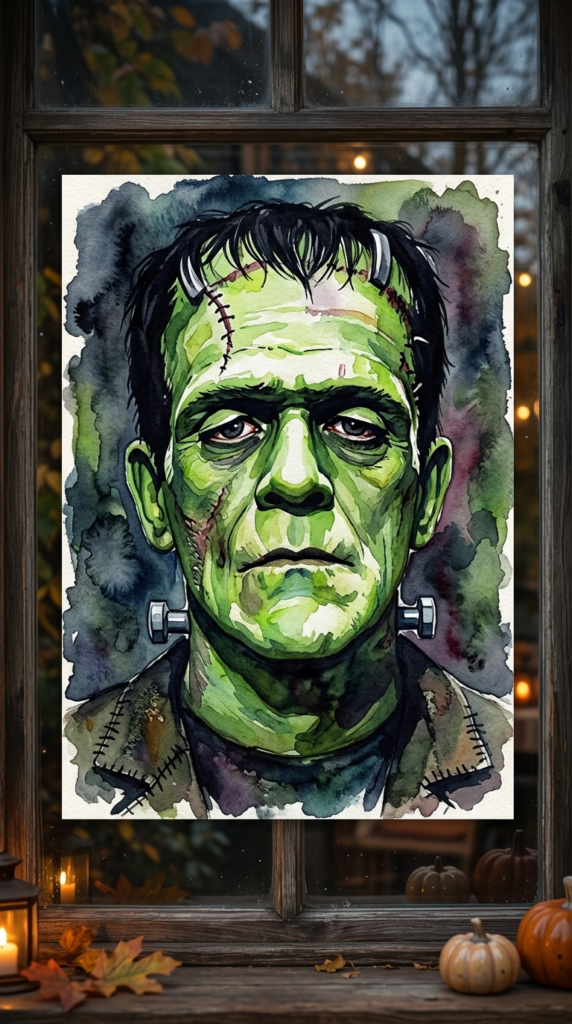
Frankenstein is a recognizable Halloween character that works especially well as a large window portrait. Start with his green face and build the expression around his heavy eyebrows, dark eyes, scars, and distinctive bolts.
Use darker watercolor around the sides of the face to create contrast with the green skin. Small details such as stitches and forehead lines can make the character more interesting without requiring an overly complicated background.
Full Moon and Wispy Clouds
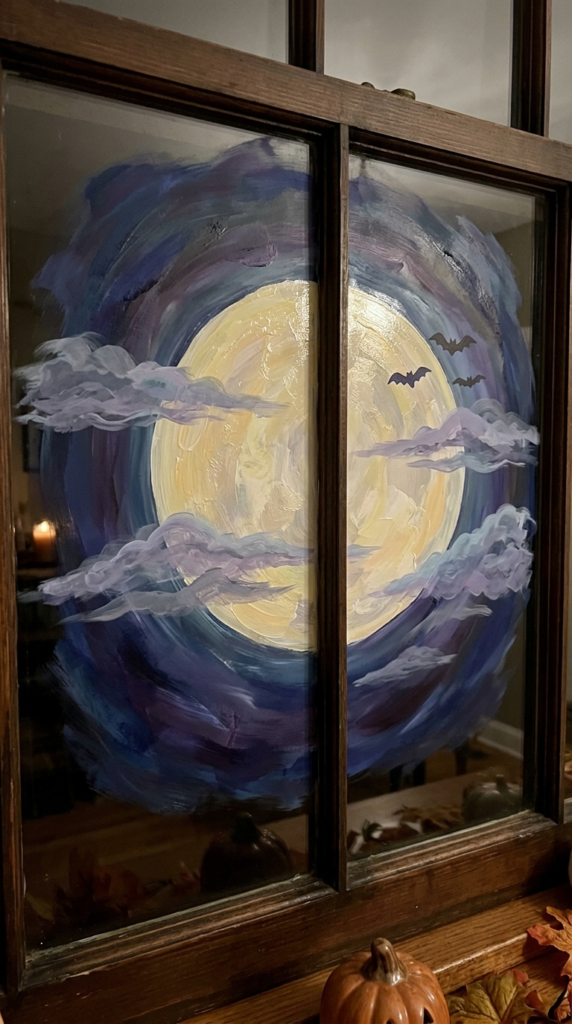
A large full moon can become the central feature of a Halloween window painting. Use pale yellow, cream, or soft white watercolor to create the moon and surround it with darker blue or purple shades.
Add layers of loose clouds across portions of the moon to give the scene depth. A few tiny bats flying across the background can reinforce the Halloween theme while keeping the overall composition simple and atmospheric.
Giant Spider Web Display
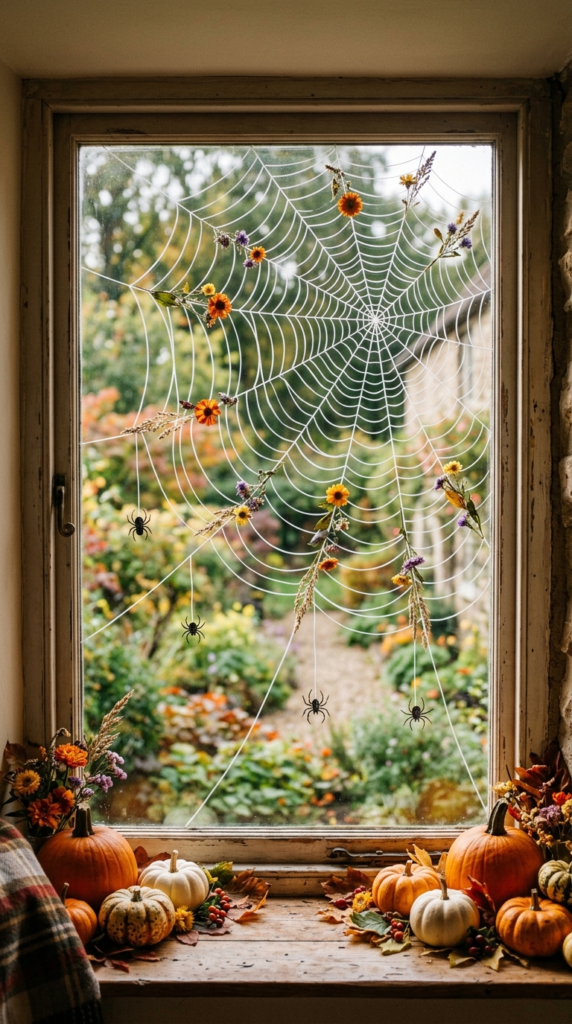
A large spider web can cover a significant portion of a window while still leaving plenty of glass visible. Paint the web with thin, curved lines and gradually build the pattern outward from the center.
Place pumpkins along the bottom of the scene for a warm contrast against the lighter web. Small spiders can hang from different sections, while flowers, grass, or leaves can make the design feel more decorative and family-friendly.
Mysterious Glowing Eyes
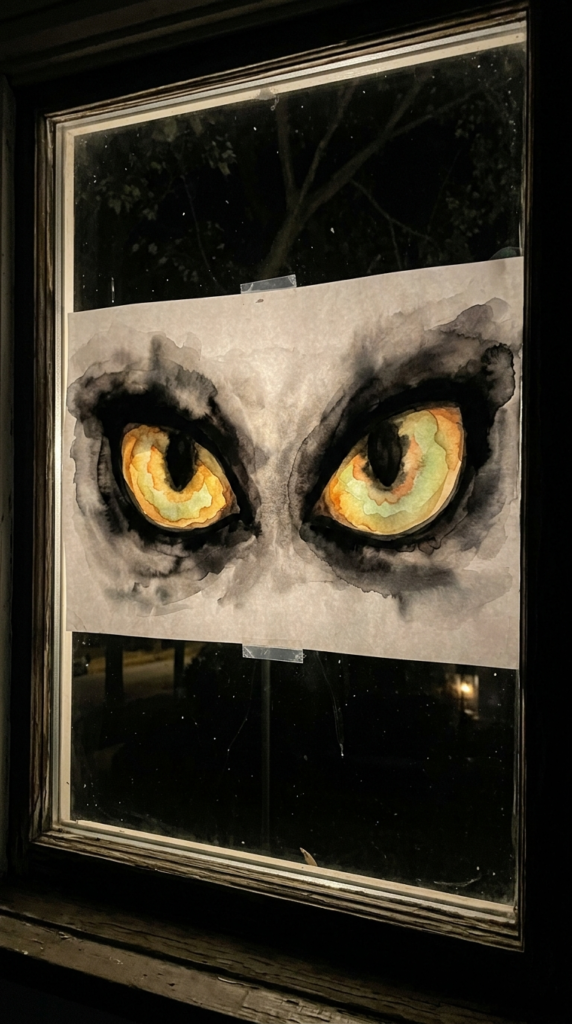
Large glowing eyes can create a dramatic Halloween effect with relatively few painted elements. Start with the eye shapes and use black watercolor around the edges to make the bright centers stand out.
Yellow, orange, or pale green tones can be layered into the irises to create a glowing appearance. Adding soft smoky shadows around the eyes can make them seem as though they are emerging from darkness. This design works particularly well when the window is illuminated from behind.
Spider Eyes That Glow
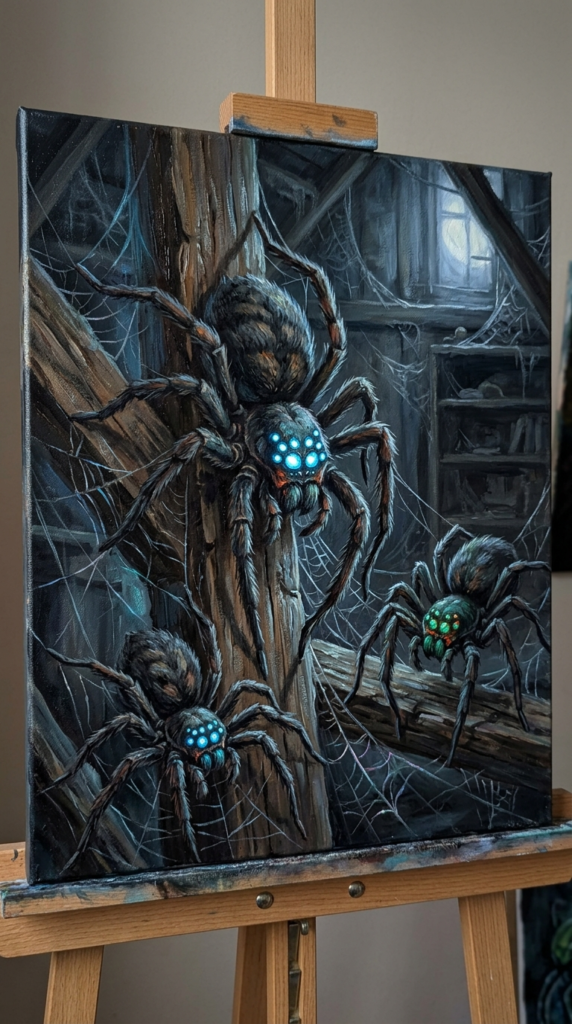
Take a regular spider painting and give it an unexpected twist by making the eyes the brightest part of the design. Paint large spiders with dark bodies and add blue or another bright color to the eyes.
The glowing eyes can be painted first, followed by the spider’s body and legs around them. Adding subtle webs behind the spiders can help connect the individual elements into one scene. Use a few larger spiders as focal points rather than covering the entire window with them.
Haunted House at Night
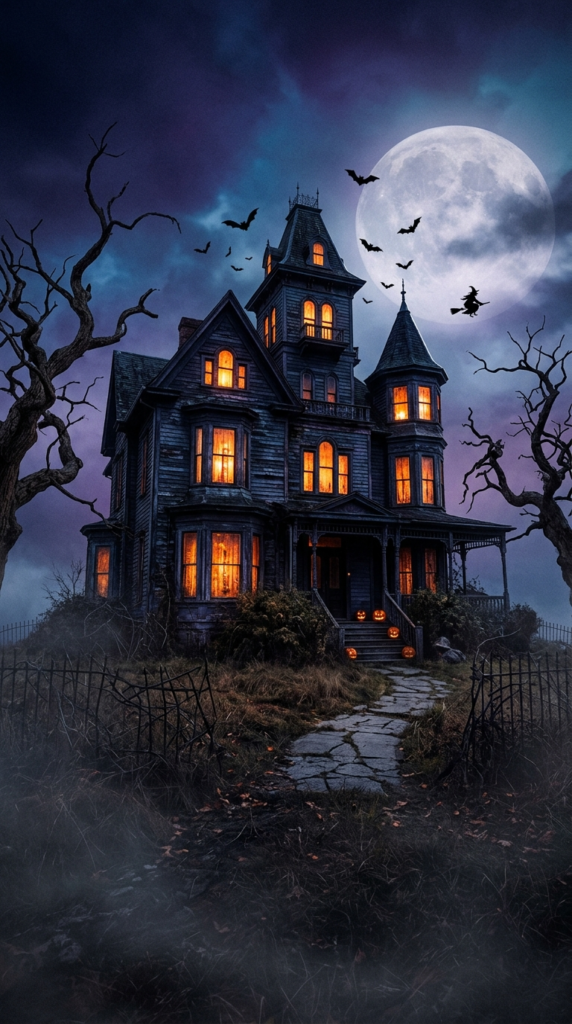
A haunted house can turn an entire window into a miniature Halloween landscape. Paint the house in dark blue, black, or purple shades and use warm orange or yellow for the windows to create the appearance of light coming from inside.
Add a large moon, flying bats, crooked trees, or a distant witch to build the setting. Blending several cool colors into the sky can create a layered background while keeping the haunted house visually prominent.
Jack-o’-Lantern Window Display
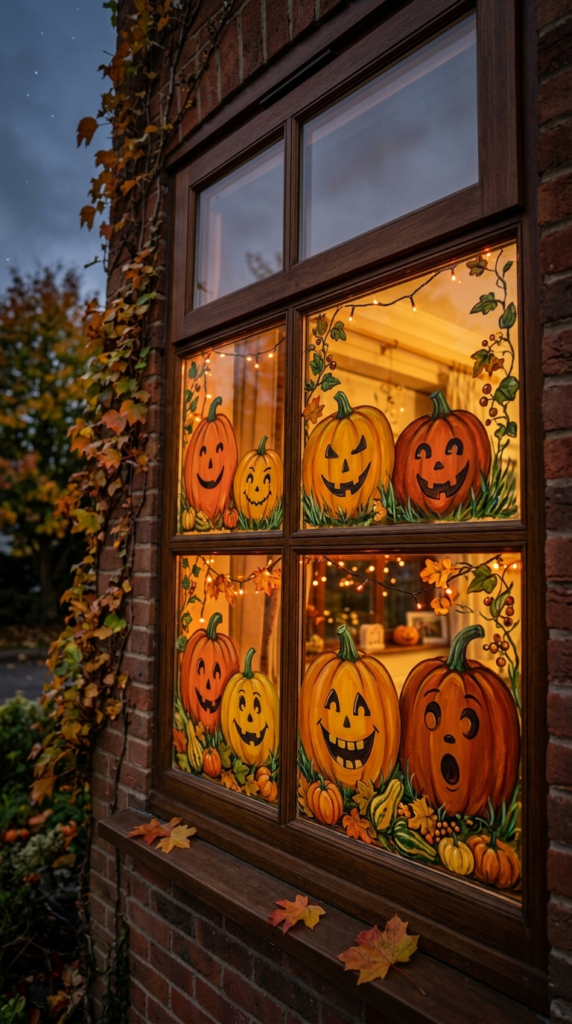
Jack-o’-lanterns are an easy way to create a cheerful Halloween window scene. Paint several pumpkins in different sizes and give each one a unique expression, from simple smiles to mischievous grins.
Use shades of orange and yellow to create variation between the pumpkins. Add green stems, grass, leaves, and smaller pumpkins around the bottom of the window to make the composition feel complete. Slightly darker shading around the edges can also give each pumpkin more dimension.
Mummy Peeking Through the Window
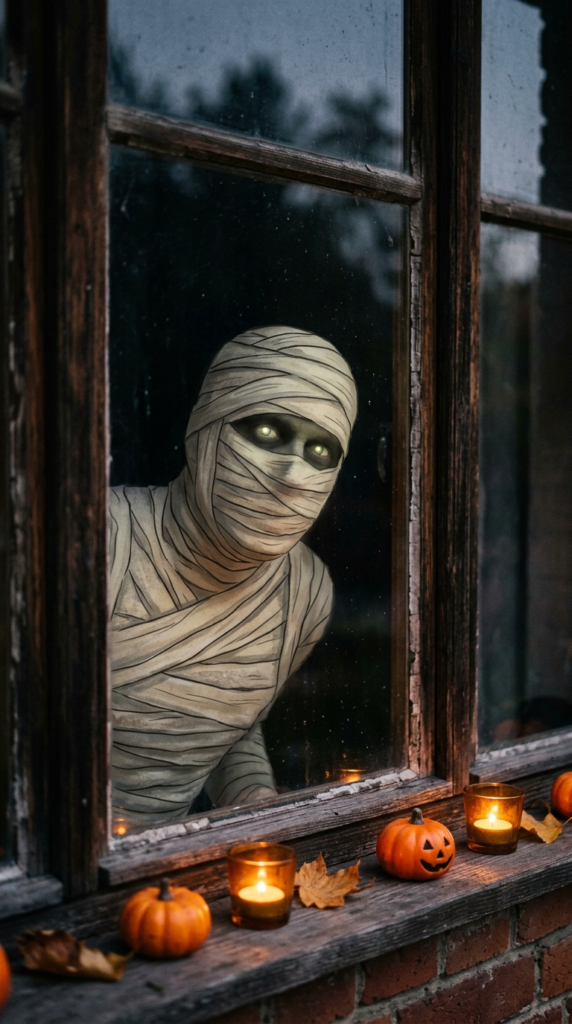
A mummy can become a fun focal point when painted as though it is peeking out from the darkness. Use pale beige, cream, or gray tones for the wrapped body and add darker lines between the layers of fabric.
Give the eyes a subtle glow to create contrast against the surrounding shadows. Pumpkins, candles, or small Halloween decorations can be placed nearby to add warmth to the darker scene. Keep the wrapping details simple enough that the character remains easy to recognize through the glass.
Owl Perched on a Branch
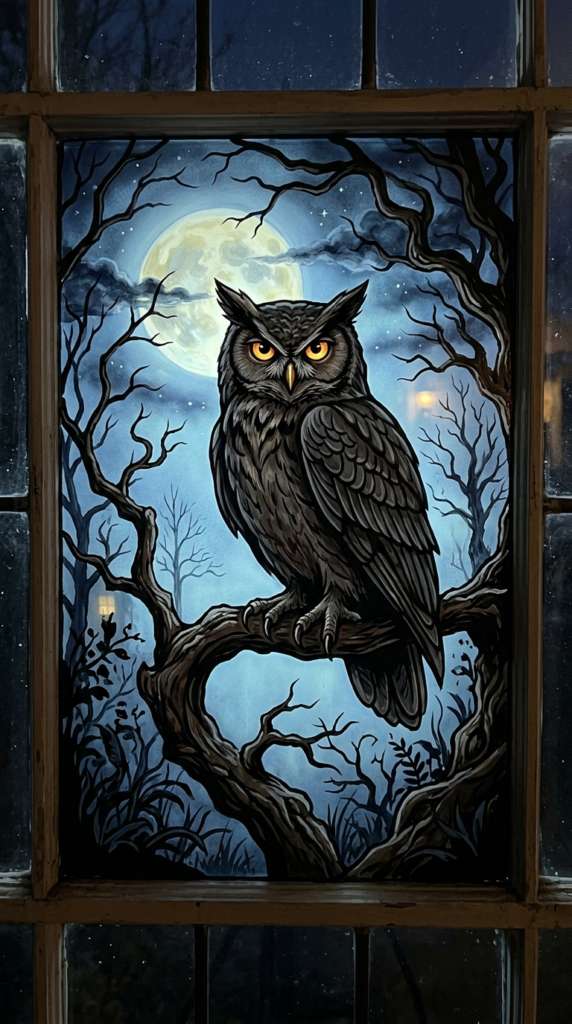
An owl sitting on a crooked branch can give a Halloween window painting a mysterious nighttime atmosphere. Paint the owl in dark brown, gray, or black tones and place it against a pale blue or moonlit background.
The eyes can become the main focal point, especially when painted in a bright yellow or amber shade. Add bare branches around the bird and use clean lines for the claws and feathers so the silhouette remains easy to see.
Skeleton Halloween Window Scene
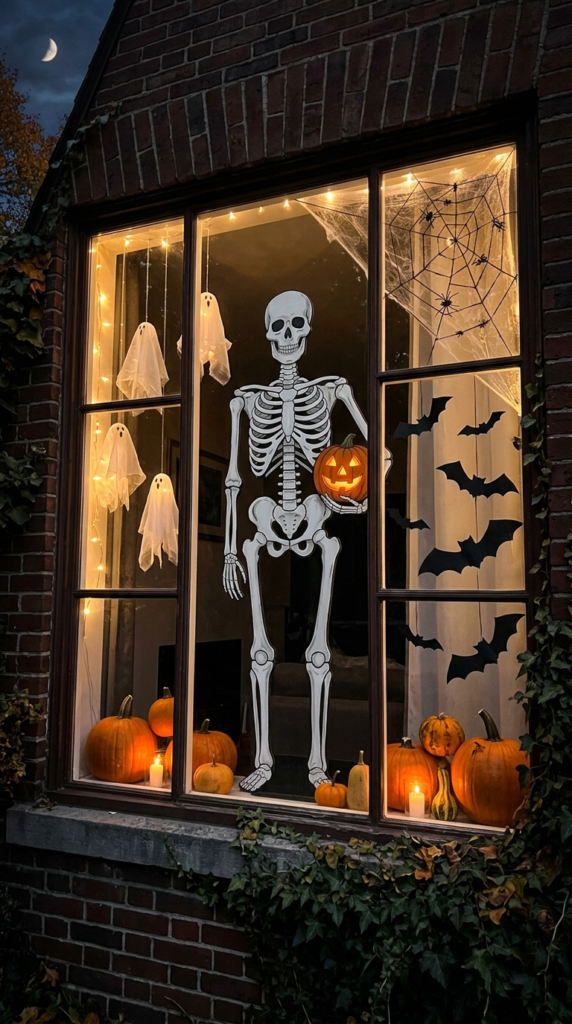
A tall skeleton can create a striking centerpiece for a Halloween window. Paint the bones in white or pale gray and use a dark background to make the figure stand out clearly.
You can surround the skeleton with pumpkins, ghosts, bats, or small spider webs to create a complete Halloween scene. Use clean outlines for the bones and add light shading around the joints to give the figure more definition without making the painting overly detailed.
Smiling Pumpkin Display
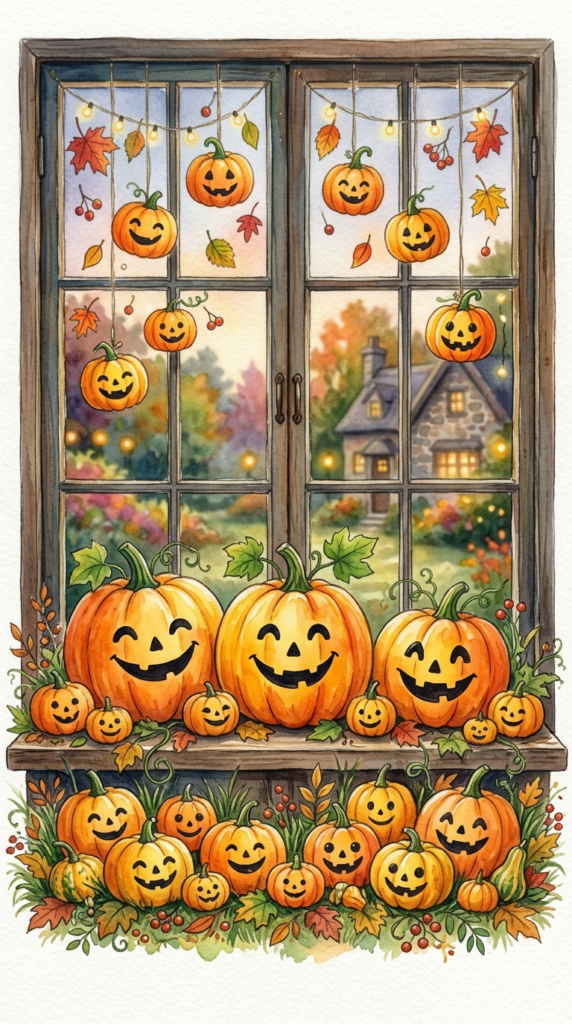
Big smiling pumpkins can give a Halloween window a bright and welcoming appearance. Use orange and yellow watercolor to create the pumpkins, then add simple black faces with different expressions.
Paint several pumpkins at different sizes and arrange smaller ones around the bottom of the window. Green stems, grass, and leaves can fill the lower portion, while a few floating pumpkins or autumn details can balance the upper area.
Spooky Forest Landscape
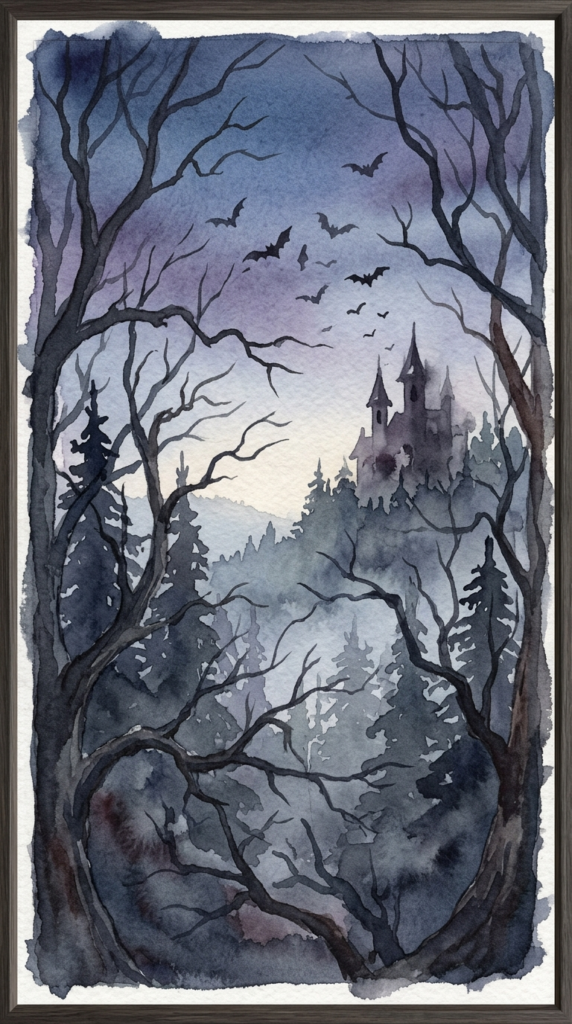
A spooky forest scene can make a window look like it opens into a mysterious Halloween landscape. Paint tall, twisted trees in dark shades and place them around a distant castle or shadowy structure.
Add flying bats across the sky and use layers of blue, purple, and gray watercolor behind the trees to create depth. Keep the background progressively lighter or softer toward the distance so the foreground branches and silhouettes remain the strongest elements of the design.