
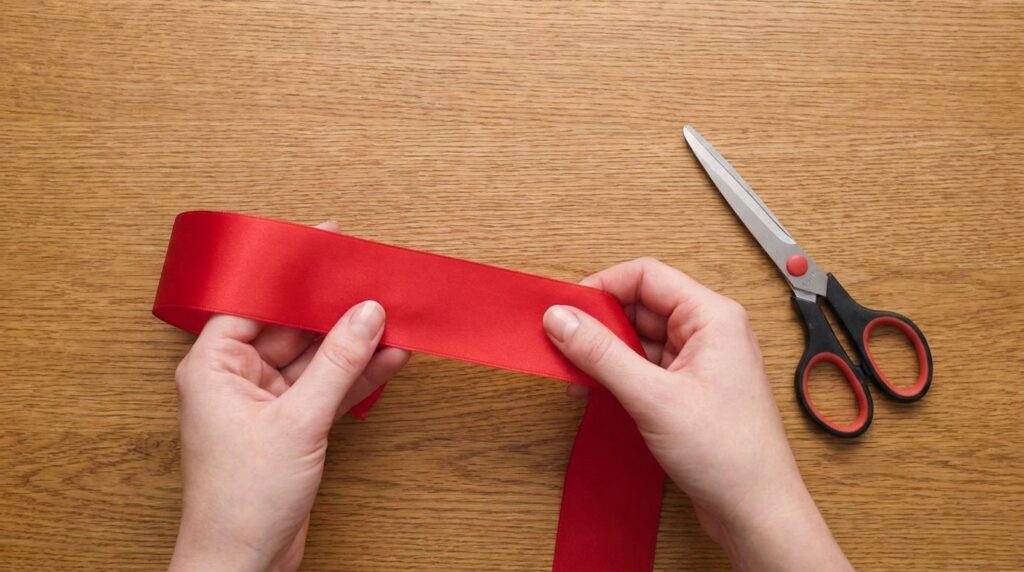
A beautifully made ribbon bow can add a charming finishing touch to gifts, wreaths, hair accessories, home decorations, and seasonal crafts. The good news is that you don’t need advanced crafting skills to create one. With a few simple folds, some ribbon, and basic supplies, you can make bows in different shapes, sizes, and styles to suit almost any project.
Whether you prefer a classic layered bow or something more playful and decorative, there are plenty of techniques to explore. If you’re ready to add a handmade detail to your next project, these easy ways to make a bow with ribbon can help you get started.
1. Create a Timeless Classic Ribbon Bow
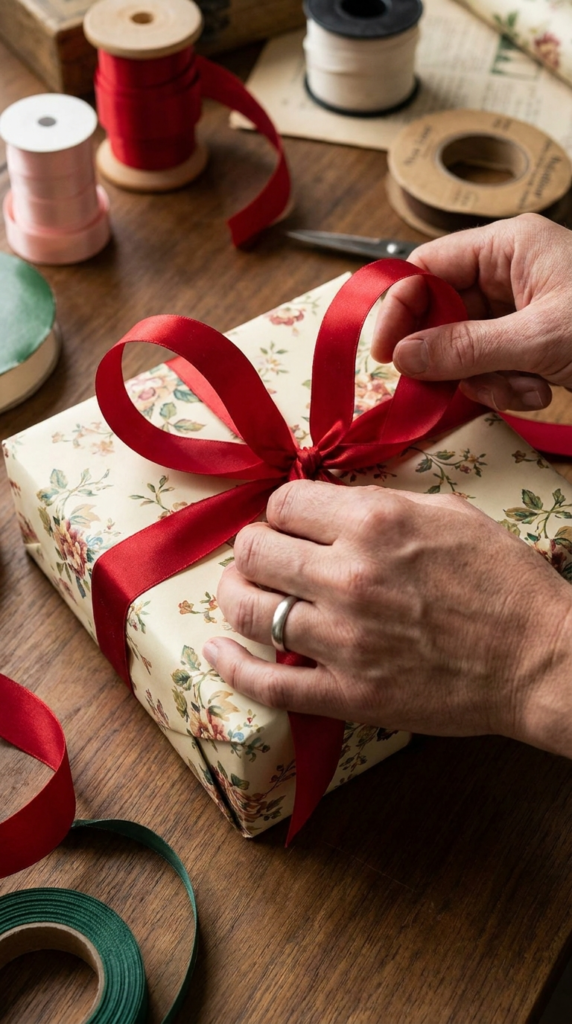
A traditional ribbon bow is one of the most useful techniques to learn because it works for gift wrapping, baskets, wreaths, floral arrangements, and many other decorations. Once you understand the basic loop-and-knot motion, you can easily adjust the size and fullness for different projects.
Start with a length of ribbon and form two loops of approximately the same size. Hold one loop in each hand while keeping the center pinched between your fingers. Cross one loop over the other, bring it around the back, and pull it through the opening in the same general motion used when tying shoelaces.
Tighten the center carefully rather than pulling too hard. The goal is to keep the ribbon gathered while allowing the loops to remain full and rounded.
After securing the center, spend a few seconds arranging the bow. Pull each loop outward, straighten the ribbon, and adjust the tails until both sides have a balanced appearance. If the ribbon has a finished front and back, make sure the visible side is facing outward as you shape it.
This simple technique can be adapted by changing the ribbon width, material, color, or number of loops. A narrow satin ribbon creates a delicate result, while wired or textured ribbon produces a fuller decorative bow.
2. Shape an Easy Figure-Eight Ribbon Bow
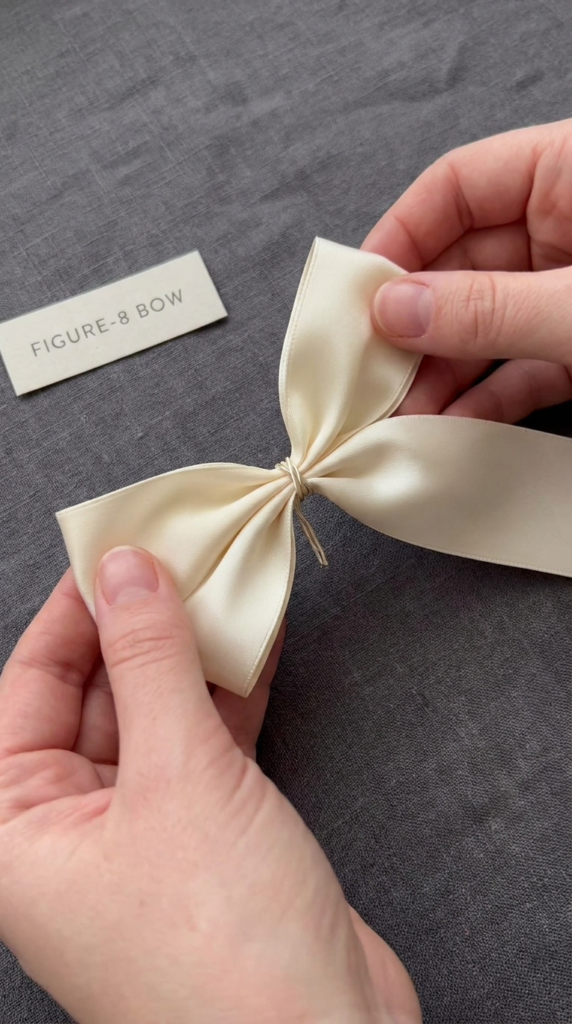
A figure-eight design is a useful option when you want a neat bow without performing a traditional knot. Its symmetrical shape makes it especially suitable for decorations where the bow will be attached to another object.
Begin with a fairly long piece of ribbon. Find the center and pinch it firmly between your fingers. Form a loop on one side, bring the ribbon back toward the center, and then create a matching loop on the opposite side.
Keep the two loops similar in size as you work. Once the shape looks balanced, secure the pinched middle with thin floral wire, craft wire, string, or a narrow piece of ribbon.
Gently separate and reshape the loops after securing the center. Avoid pulling aggressively because some ribbon materials can crease or lose their shape.
The finished bow can be attached to a wrapped present, wreath, basket, chair back, or decorative package. Using two different ribbon textures can also give this simple design more dimension.
For a softer appearance, use fabric ribbon with a little flexibility. For a structured bow, choose wired ribbon that can be molded into position.
3. Make a Small Florist-Style Boutonniere Bow
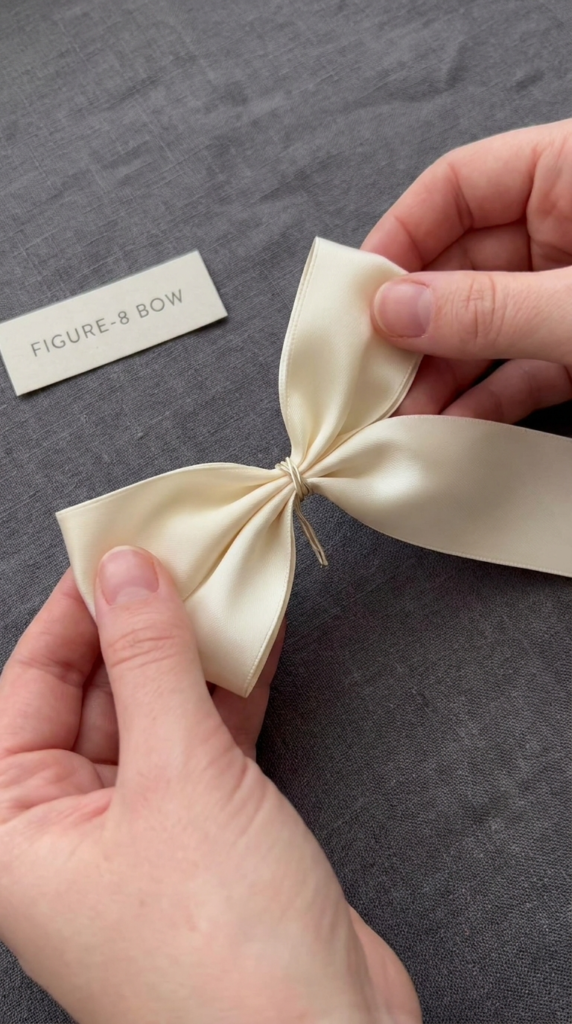
A compact florist-style bow is ideal when you want several small loops gathered closely together. This type of bow can add detail to bouquets, gift baskets, floral arrangements, wreaths, and other small decorations.
Choose a relatively narrow ribbon and begin making short loops. Instead of creating only two large sides, continue forming several loops while holding their centers together.
Aim for approximately five to seven loops, depending on the ribbon width and the size of the finished decoration. Keeping the loops relatively consistent will give the bow a fuller and more polished appearance.
Once the desired number of loops has been created, pinch the center firmly and wrap it with floral wire. Twist the wire securely at the back without crushing the ribbon.
Now separate the individual loops one at a time. Angle some toward the front, others toward the sides, and slightly spread the remaining loops toward the back. This creates a rounded, three-dimensional shape.
You can leave the tails short for a compact floral arrangement or add longer tails when attaching the bow to a package or wreath. A matte ribbon gives a natural appearance, while satin or metallic ribbon creates a more decorative finish.
4. Build a Full and Fluffy Pom-Pom Bow
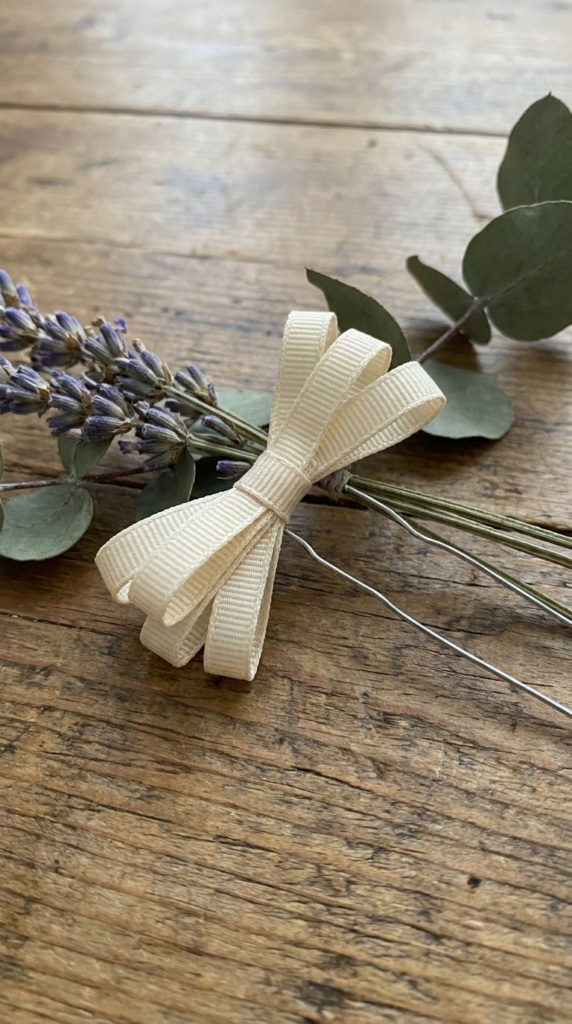
A pom-pom bow is designed to look abundant and rounded rather than flat. It is especially effective for large gift packages, holiday decorations, wreaths, and other projects where you want the ribbon to become a noticeable feature.
Wired ribbon is particularly helpful because the edges can be shaped after the bow has been assembled. Begin by creating multiple loops around your hand or another appropriately sized guide.
Keep adding loops until you have enough material for the desired fullness. The more loops you create, the denser the finished bow will appear.
Pinch the center securely and fasten it with floral wire or another strong tying material. Once the center is secure, begin separating the loops.
Rather than simply pulling every loop sideways, bring individual sections forward, backward, upward, and downward. Continue rotating the bow as you work so the loops are distributed around the center.
This technique creates a rounded silhouette that resembles a pom-pom. If some loops look flat, gently reshape them by hand or use the internal wire to give them more structure.
For an especially large decoration, combine different ribbon widths while keeping the colors coordinated.
5. Combine Several Ribbons for a Layered Bow
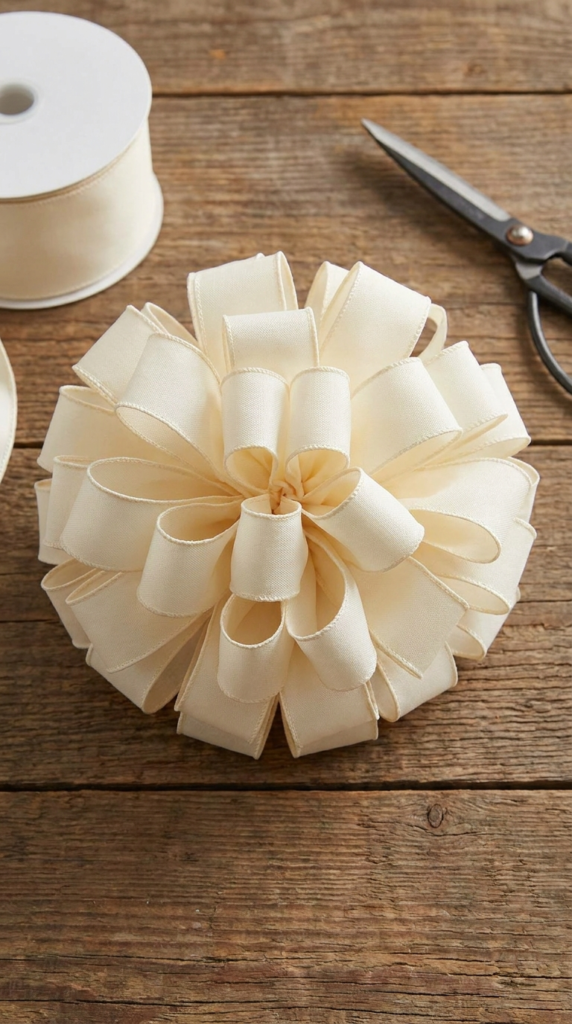
Using multiple ribbons is an easy way to make a bow look more dimensional. Instead of trying to create one complicated structure, make separate bows or looped sections and combine them.
Choose two or three ribbons that complement one another. You could pair a solid color with a pattern, combine different textures, or use ribbons in slightly different shades of the same color.
Make the largest bow first using the widest ribbon. Then create a smaller bow from the second ribbon and place it over the center of the first. A narrow accent ribbon can be added as the final layer.
Secure the layers together at the back using floral wire, strong craft adhesive, or another fastening method appropriate for your project.
When selecting ribbons, consider how their widths relate to one another. A very wide ribbon paired with an extremely thin ribbon may require additional layers to create visual balance.
This approach works particularly well for holiday packages, wreaths, decorative baskets, and seasonal home accents because you can change the ribbon combinations to suit different occasions.
6. Assemble a Simple No-Tie Faux Bow
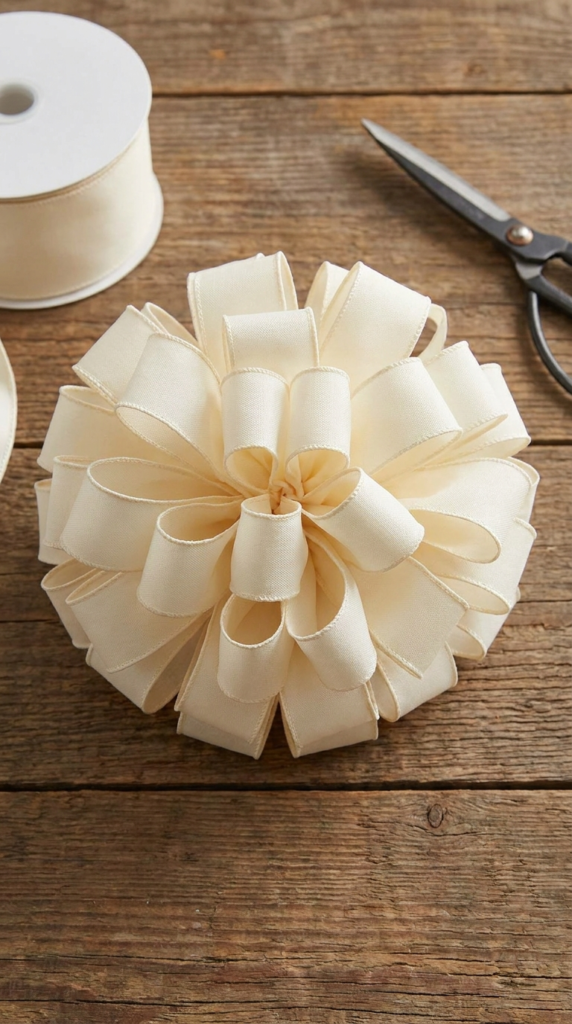
A faux bow is a practical choice when you want a consistent shape without tying several loops together. Because the loops and tails are assembled separately, this method can also be easier for beginners.
Cut one piece of ribbon long enough to create the loops and another piece for the tails. Take the first piece and bring its ends toward the center so it forms a looped or figure-eight shape.
Secure the center with adhesive, a small piece of wire, or another suitable fastener. Allow adhesive to cure according to its instructions before handling the bow.
Next, prepare the tail section. Position it behind the looped portion and secure it at the center. Arrange the tails so they extend evenly downward or at slight angles.
Cover the center attachment with a short piece of ribbon to create a cleaner finished appearance. This small center band can also hide the fastening method completely.
The finished bow can be attached to a gift box, wreath, basket, garland, or decorative container. Since the shape is assembled rather than tied, you can make multiple bows that are nearly identical in size.
7. Form an Elegant Diamond-Inspired Butterfly Bow
A diamond or butterfly-style bow creates more visual detail than a basic two-loop design. The distinctive shape comes from changing the direction of the ribbon as the loops are formed.
Begin by creating a secure center and forming the first pair of loops. Instead of leaving the ribbon in simple circular shapes, gently twist each section inward before forming the next loop.
Continue the pattern on both sides while keeping the movements as symmetrical as possible. The inward twists create pointed sections that give the bow its butterfly- or diamond-like appearance.
Once the structure is complete, secure the center firmly. Slowly adjust each loop until the two sides mirror one another.
This design can be made with satin, grosgrain, velvet, or wired ribbon. A structured material will emphasize the geometric shape, while a softer ribbon will produce a more relaxed result.
Try this style for decorative pillows, hair accessories, wrapped presents, wreaths, or special-event decorations. A smaller version can also be used as an accent on a handmade card or gift box.
8. Make a Fast Loop-and-Wrap Bow
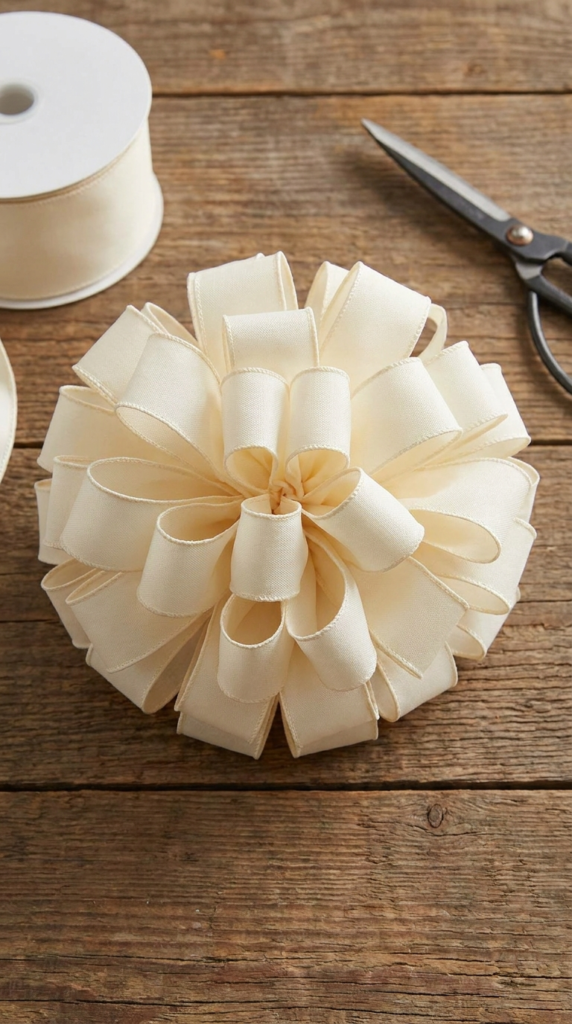
When you need a bow quickly, a simple loop-and-wrap method can create a decorative result with only a few steps. It is especially useful for last-minute gift wrapping.
Start by leaving a tail of ribbon hanging from the package. Bring the ribbon upward to form one large loop. Hold the loop against the package or between your fingers while wrapping the remaining ribbon around its center.
Continue wrapping until the center looks secure. Then cut the ribbon, leaving enough material for a second tail.
Pull the loop open and shape it so that it sits evenly around the center. Trim the tails at matching angles or use a simple V-shaped cut for a decorative finish.
This style works particularly well with rustic ribbon, burlap-style material, cotton tape, or textured fabric ribbon. It does not need to be perfectly symmetrical to look attractive.
For a fuller bow, create two or three loops before wrapping the center. For a minimalist package, use one large loop and longer tails.
9. Sculpt a Flowing Bow From Wired Ribbon
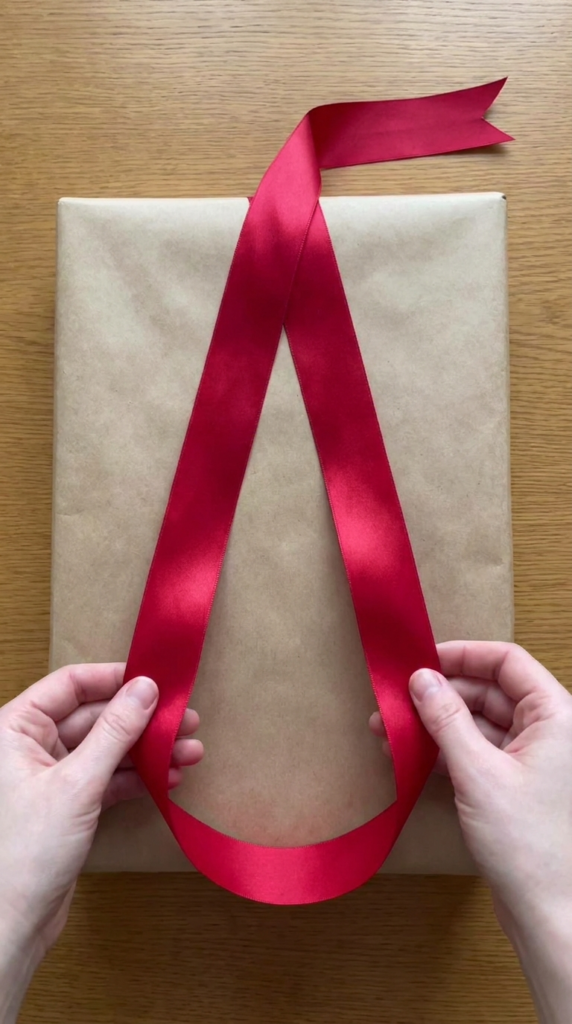
Wired ribbon is useful when you want a bow with movement rather than perfectly uniform loops. The built-in wire allows you to shape the material and hold curves in place.
Start with a long length of wired ribbon and gently bend sections into loose curves. Instead of making tight circular loops, allow each section to form an organic spiral or wave.
Bring the center sections together and secure them with floral wire or another suitable fastener. Once the middle is fixed, begin arranging the loops individually.
Bend the internal wires to direct some sections upward, others sideways, and a few toward the front. This creates a layered effect with visible movement between the ribbon sections.
You can leave the tails long and flowing or trim them shorter depending on the project.
This style is particularly effective for wreaths, Christmas trees, staircase decorations, large gift boxes, and mantel arrangements. Metallic or patterned wired ribbon can emphasize the sculptural quality of the finished bow.
10. Tie a Familiar Double-Loop Bow
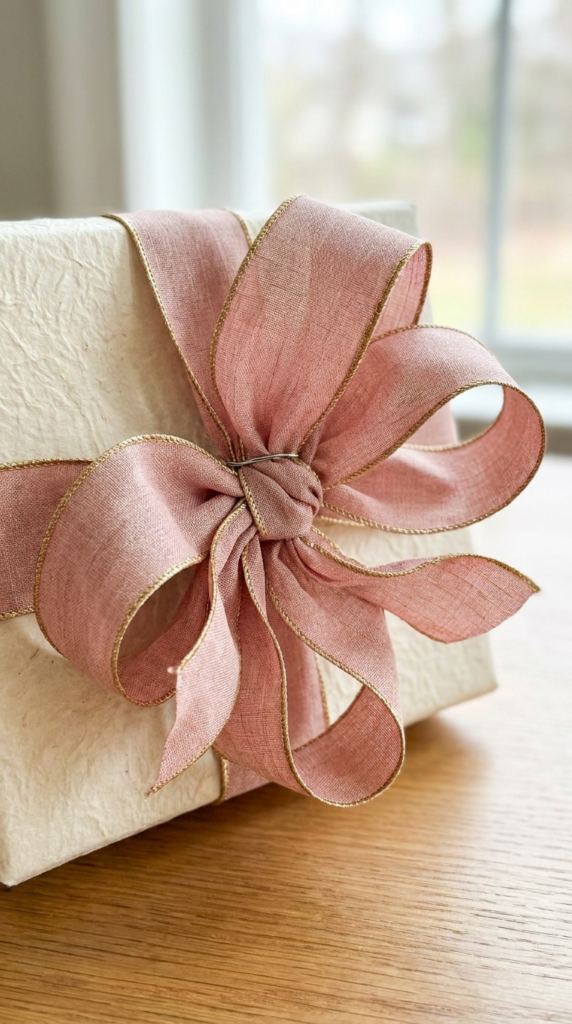
The traditional double-loop bow remains useful because it is quick, recognizable, and adaptable to almost any ribbon project. If you know how to tie a shoelace, you already understand the basic motion.
Create two loops from the ribbon and cross one over the other. Bring one loop around the back and pull it through the opening. Tighten the center until the loops hold their shape.
The most important part comes after the knot is secured. Pull the loops outward rather than simply pulling the tails, then straighten any twisted sections.
Check the length of the tails and trim them evenly. Angled cuts give the bow a traditional finish, while V-shaped cuts create a slightly more decorative appearance.
This technique is suitable for casual gift wrapping, baskets, handmade packages, table decorations, and simple seasonal crafts.
Changing the ribbon itself can dramatically change the result. Wide grosgrain creates a structured look, satin adds softness, and natural fabric ribbon can give the same technique a more relaxed appearance.
11. Decorate a Multi-Loop Bow With a Center Accent
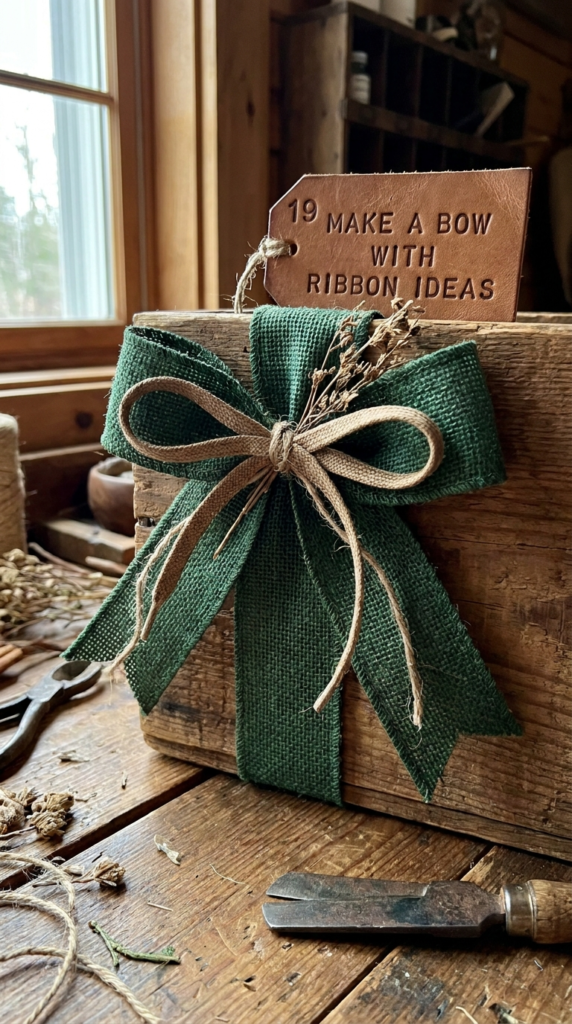
A basic multi-loop bow can become a centerpiece when you add a decorative element to the middle. The embellishment also helps conceal the wire, knot, or fastening material used to hold the bow together.
Start by making a full multi-loop bow. Secure the center tightly and arrange the loops until they have an even distribution.
Choose a lightweight centerpiece that suits the project. Options include a faux pearl, decorative bead, small fabric flower, wooden shape, lightweight ornament, or other craft embellishment.
Attach the decoration to the center using an adhesive appropriate for both materials. Avoid adding anything excessively heavy because it can cause the bow to droop.
For a formal project, a single pearl or metallic accent can provide a subtle finishing touch. For a holiday decoration, a small seasonal embellishment can coordinate the bow with the rest of the display.
Keep the center decoration proportional to the bow. A small bow usually looks better with a small accent, while a large wreath bow can support a more noticeable centerpiece.
12. Use a Fork to Make a Tiny Ribbon Bow
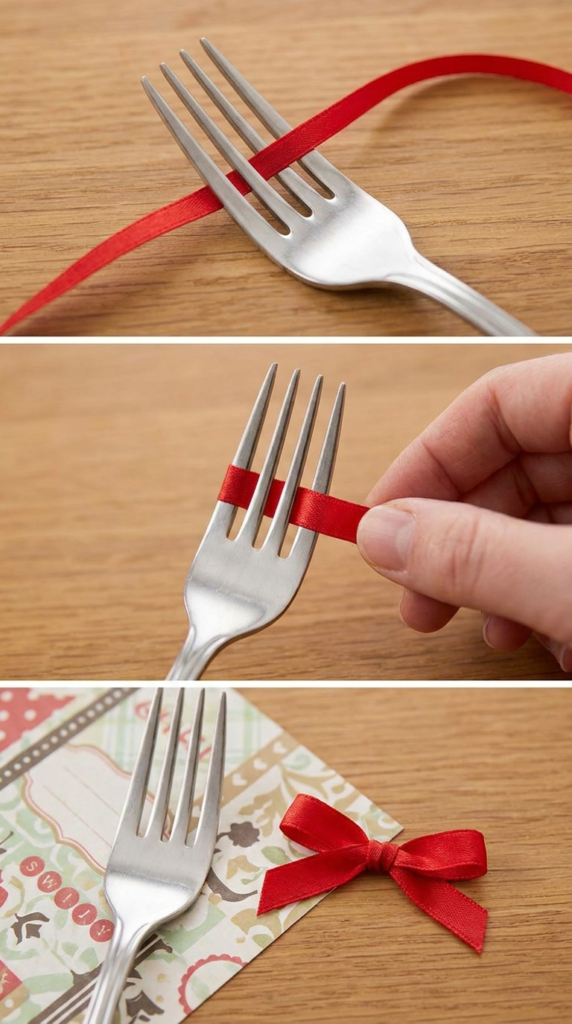
A standard household fork can serve as a simple guide for making very small, uniform bows. This method is particularly useful when you need several miniature decorations of similar size.
Choose a narrow ribbon that can comfortably fit between the fork’s tines. Place the ribbon across the fork and weave or wrap it around the tines according to the desired loop arrangement.
Once the ribbon has been wrapped, use a separate short piece of ribbon or thin thread to secure the center. Carefully slide the finished shape away from the fork.
Gently separate the loops and trim the tails if necessary. Because the fork controls the width of the loops, this technique makes it easier to create several bows that look similar.
Miniature fork bows are useful for greeting cards, scrapbooks, party favors, small gift boxes, hair accessories, and other detailed crafts.
Use a fork with smooth edges and handle the ribbon carefully so it does not snag. Very thick ribbon may not work well with this method, so narrow decorative ribbon is generally easier to manage.
13. Add Curled Tails to a Cascading Bow
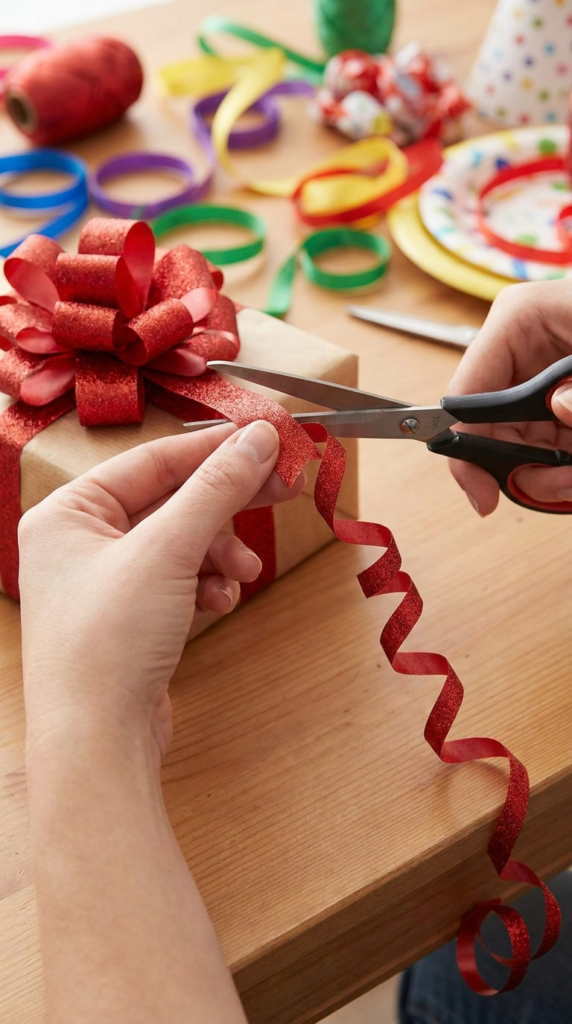
Long curled tails can turn an ordinary bow into a playful cascading decoration. This technique works particularly well when you want the ribbon to extend beyond the main loops.
Make a standard bow but intentionally leave the tails longer than usual. Once the bow is secure, decide which sections you want to curl.
Some ribbon materials can be curled by carefully running the blunt or appropriate edge of a tool along the ribbon. However, the method depends heavily on the ribbon material, and excessive pressure can damage or cut it.
For safer shaping, wrap the ribbon around a cylindrical object and secure it temporarily. Leave it in place until the material develops a curve, then remove the guide and adjust the curl by hand.
Create several curls of different lengths for a layered effect. Keep some tails straight if you want a combination of curves and flowing sections.
This technique is useful for party decorations, gift packages, balloon arrangements, wreaths, and seasonal displays. Test your chosen ribbon on a small piece first because some materials hold curls better than others.
14. Build a Large Loop Garland Bow
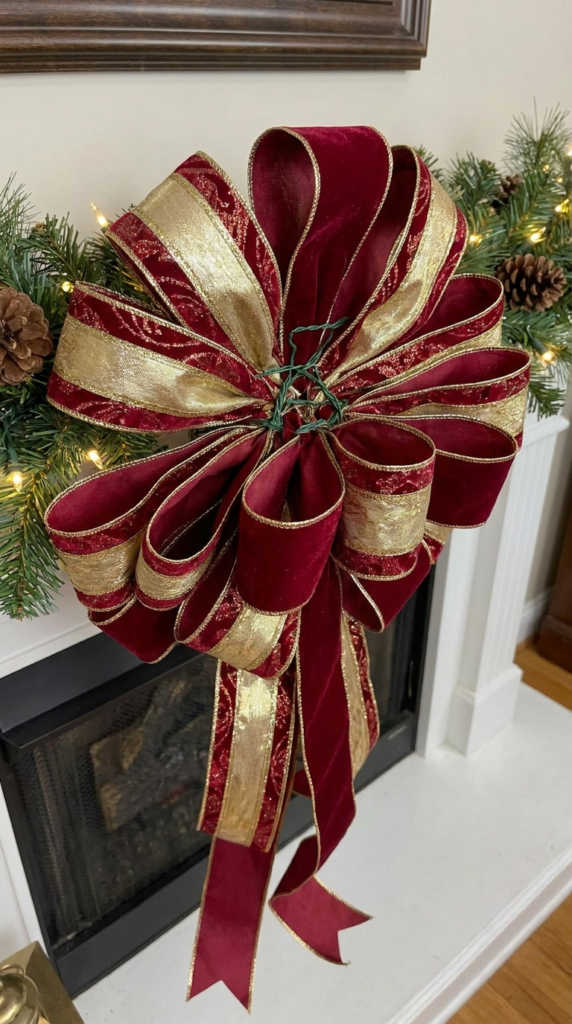
For a large decoration, you can create a bow with many connected loops instead of relying on one small center knot. This approach works especially well for Christmas trees, mantels, oversized wreaths, stair railings, and other prominent areas.
Start with a long length of ribbon and create a sequence of loops along its length. Pinch the ribbon at regular intervals so each section stays defined.
Continue building loops until the ribbon has enough volume for the size of your intended decoration. Secure the pinched sections periodically with floral wire or another appropriate fastening method.
Once the structure is complete, begin separating the loops. Spread them outward in different directions to create a broad, layered silhouette.
The loops can be arranged in groups, with some extending upward and others falling toward the sides. Longer sections of ribbon can be allowed to cascade downward as decorative tails.
This technique is particularly effective with wired ribbon because the edges can be shaped and repositioned without the entire structure collapsing.
For a coordinated display, combine two complementary ribbons throughout the garland. Keeping the colors and textures consistent will help the large bow look intentional rather than overly busy.