
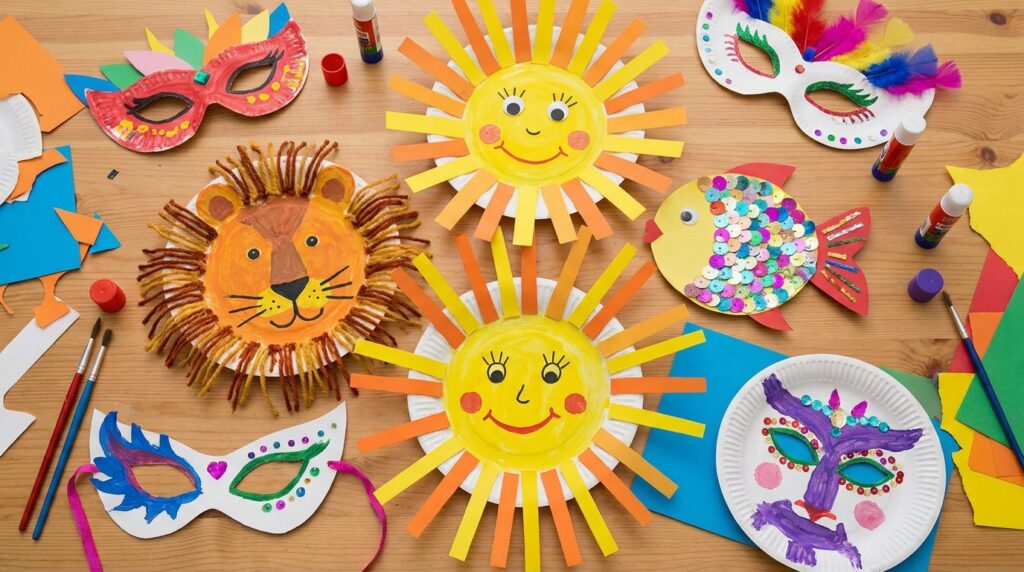
Paper plates are an inexpensive and versatile craft supply that can keep kids busy while encouraging creativity and hands-on learning. With a few simple materials such as paint, markers, glue, yarn, and colorful paper, children can transform an ordinary paper plate into animals, characters, decorations, and playful creations.
These projects can be adapted for different ages and are easy to enjoy at home, in the classroom, or during a group activity. Whether you’re looking for a quick afternoon project or a themed craft for a special occasion, these paper plate crafts for kids offer plenty of fun ideas that are simple to make and easy to personalize.
1. Create a Colorful Paper Plate Rainbow
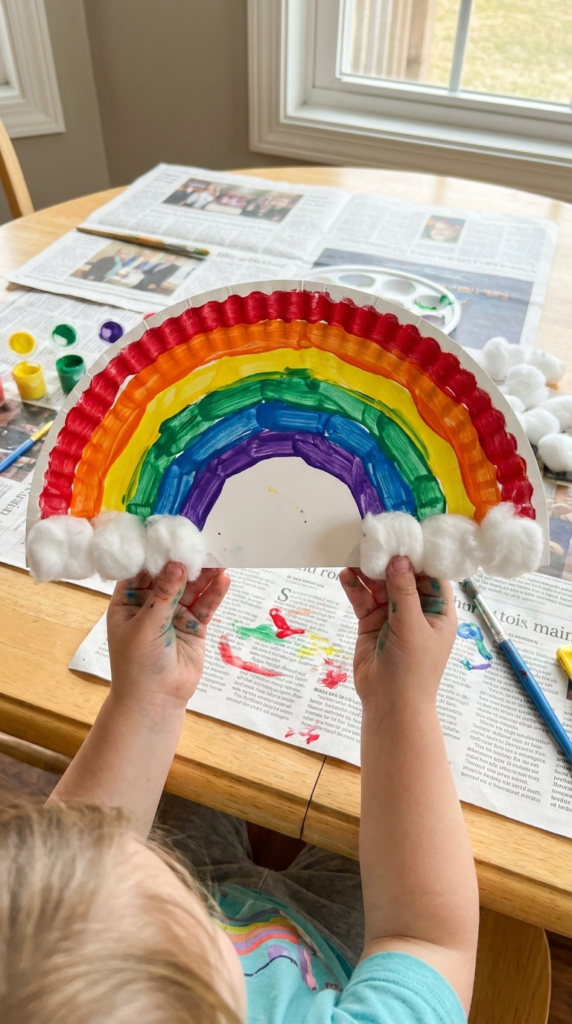
Turn an ordinary paper plate into a cheerful rainbow craft with just a few basic supplies. This project gives children an opportunity to practice painting, color recognition, and simple cutting while creating something they can display afterward.
Begin by cutting the paper plate in half. The curved edge will become the top of the rainbow, while the straight edge provides a convenient place to add clouds.
Give children washable paints, crayons, or markers and let them create several colorful bands across the curved surface. Younger children can work with a small selection of washable colors, while older kids may enjoy arranging the colors in a traditional rainbow sequence.
For the clouds, glue cotton balls along the straight edge at both ends of the rainbow. Allow the adhesive and paint to dry before hanging the finished artwork.
If you are crafting with toddlers, choose child-appropriate washable art supplies and supervise any cutting or gluing. Older children can experiment with different color combinations, glitter-free textures, or additional paper decorations.
2. Make a Cheerful Paper Plate Sun
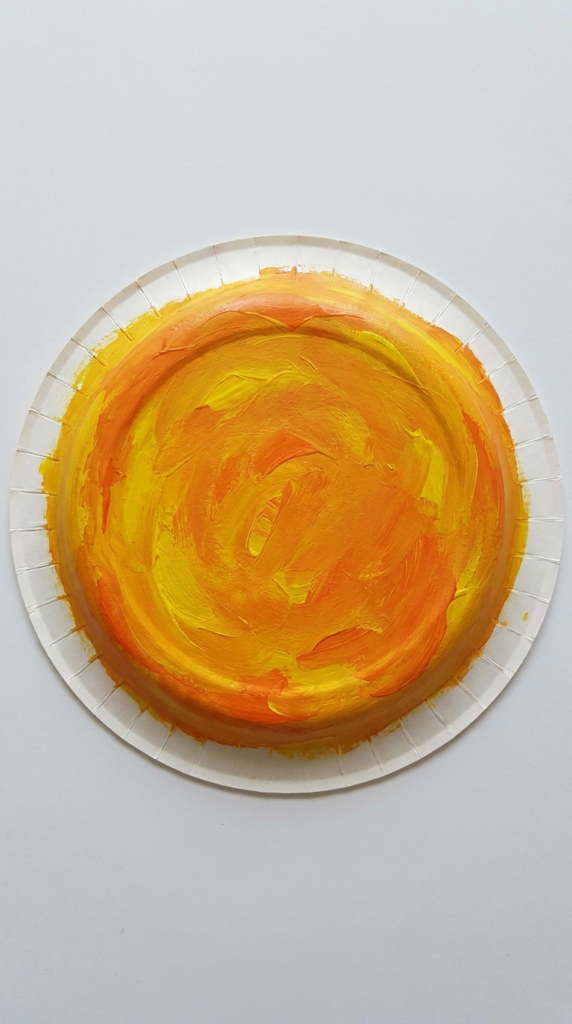
Bring a little sunshine into craft time with a bright paper plate sun. This activity is easy to customize and can be adapted for children of different ages.
Paint the back of a paper plate yellow, orange, or a combination of warm colors. Allow the base to dry completely before adding the rays.
Cut triangles from yellow and orange construction paper. They do not need to be perfectly identical; varying the lengths slightly can make the finished sun look more playful.
Glue the paper rays around the outside edge of the plate. Make sure the pieces are spaced reasonably evenly so the sun has a balanced appearance.
For the face, children can add large paper eyes, draw facial features with washable markers, or use craft pieces suitable for their age. Older children can add cheeks, eyelashes, or other details.
Once dry, attach a loop of string to the back and display the sun in a bedroom, playroom, classroom, or craft area.
3. Design a Wiggly Paper Plate Jellyfish
A paper plate can easily become a colorful jellyfish with dangling tentacles. This ocean-themed craft is particularly fun because children can choose their own combination of colors and textures.
Cut a paper plate in half to create the rounded jellyfish body. Paint the curved section using shades such as pink, purple, blue, or turquoise.
After the paint has dried, make several small holes along the straight edge of the plate. Younger children may need an adult to handle this step.
Cut yarn, ribbon, or strips of paper into different lengths. Thread the pieces through the holes and secure them so they hang beneath the body.
Mixing several colors can create a lively underwater appearance. Children can also add spots, stripes, dots, or small paper shapes to the body.
For a simple hanging decoration, attach string to the upper portion of the plate. Hang the jellyfish where gentle air movement can make the tentacles sway.
4. Turn a Paper Plate Into a Friendly Cow
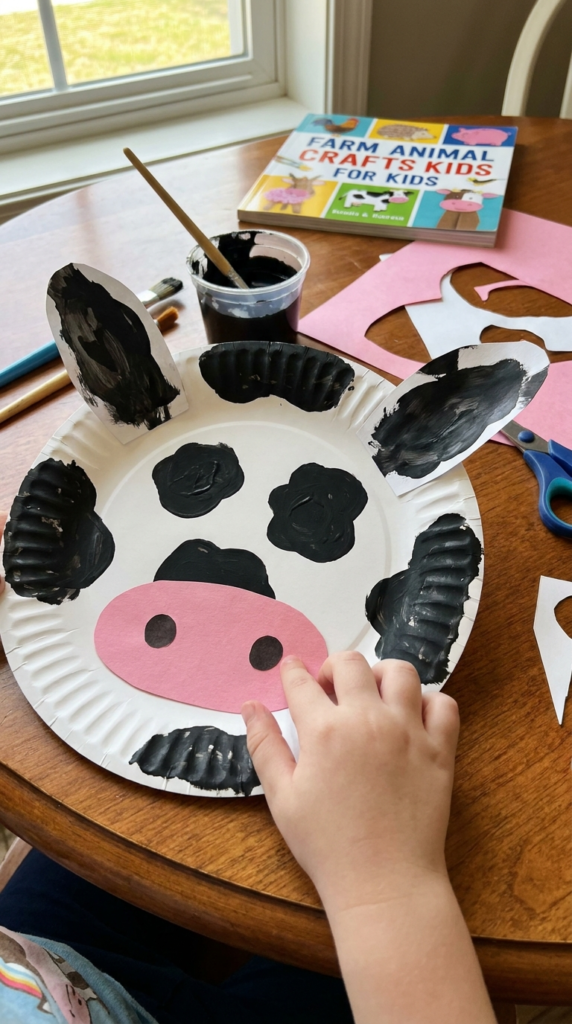
Create a simple farm animal portrait using a paper plate as the cow’s face. This craft requires only a few shapes and can be adapted for a preschool or early elementary activity.
Start with a white paper plate and add irregular black spots using washable paint or markers. The spots do not have to match because natural-looking patterns can be uneven.
Cut two ears from paper or cardstock and add smaller pieces inside each ear for contrast. Glue them near the top of the plate.
For the muzzle, cut a pink oval and add two smaller dark circles to represent the nostrils. Place the muzzle near the bottom center of the plate.
Children can draw eyes with markers or add appropriately sized craft eyes. A small tuft of paper or yarn can also be added between the ears.
Once the pieces are secure, let the cow dry completely before displaying it. Making several cows with different spot patterns can turn the activity into a small farm-themed craft collection.
5. Craft a Colorful Paper Plate Tropical Fish
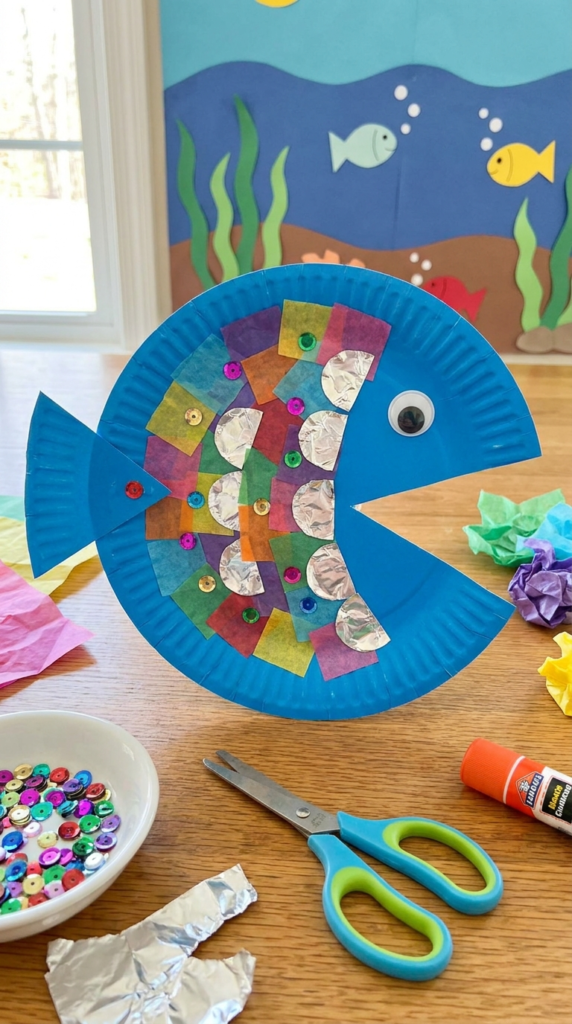
Transform a paper plate into a bright tropical fish using simple cuts and colorful decorations. This project is a useful way to introduce basic shapes while letting children experiment with patterns.
Start by cutting a triangular section from one side of the plate. The opening creates the fish’s mouth, while the removed triangle can be repositioned at the opposite end to create the tail.
Secure the triangle at the back of the plate with glue or tape. Make sure it is firmly attached before decorating the fish.
Paint the body in a bright color or cover portions of it with tissue paper. Children can add small squares of tissue paper, paper circles, foil pieces, or other age-appropriate craft materials to suggest scales.
Draw an eye near the front of the fish and add fins using leftover paper scraps. You can also create stripes, spots, or zigzag patterns across the body.
Display several finished fish together to create a homemade underwater scene on a wall or bulletin board.
6. Make a Bright Paper Plate Watermelon
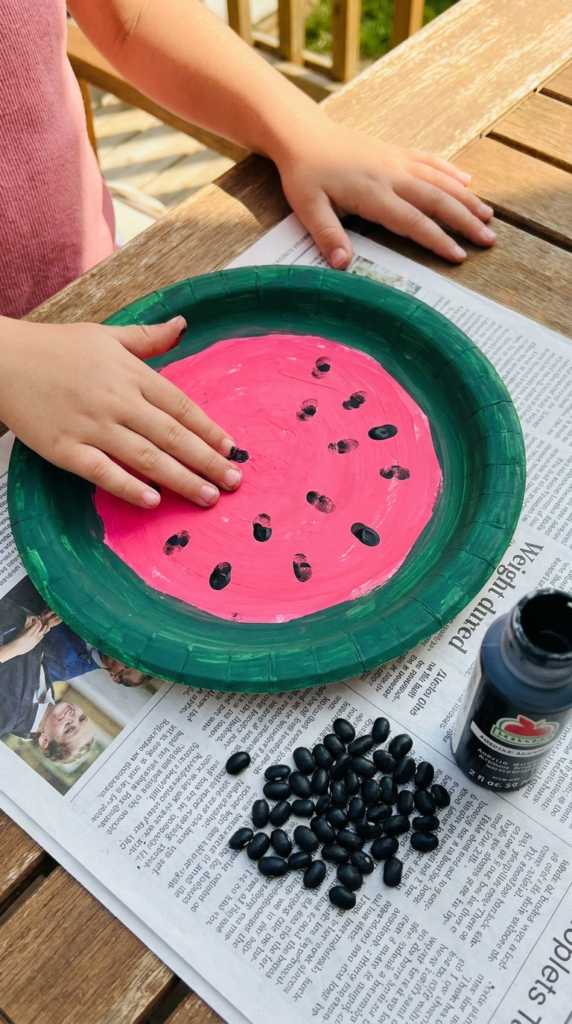
A paper plate can become a refreshing-looking watermelon slice with a few simple painted sections. This is a fun summer craft that also gives children practice working inside defined areas.
Begin by cutting the plate in half if you want a traditional watermelon-slice shape. Paint the outer rim dark green to represent the watermelon rind.
Once the green section has dried, paint the inside area pink or red. Leave a narrow lighter section between the green and pink areas if you want to represent the pale inner rind.
After everything has dried, add black seeds across the pink section. Children can paint small seed shapes, draw them with markers, or attach paper cutouts.
For a more textured project, use suitable craft materials to create raised seeds, but make sure small pieces are appropriate for the child’s age.
The finished watermelon can be displayed individually or combined with other fruit crafts to create a colorful summer-themed wall.
7. Build a Playful Paper Plate Dinosaur Mask
Turn a paper plate into a dinosaur-inspired mask for pretend play. Children can choose their favorite dinosaur colors and customize the design with different types of spikes.
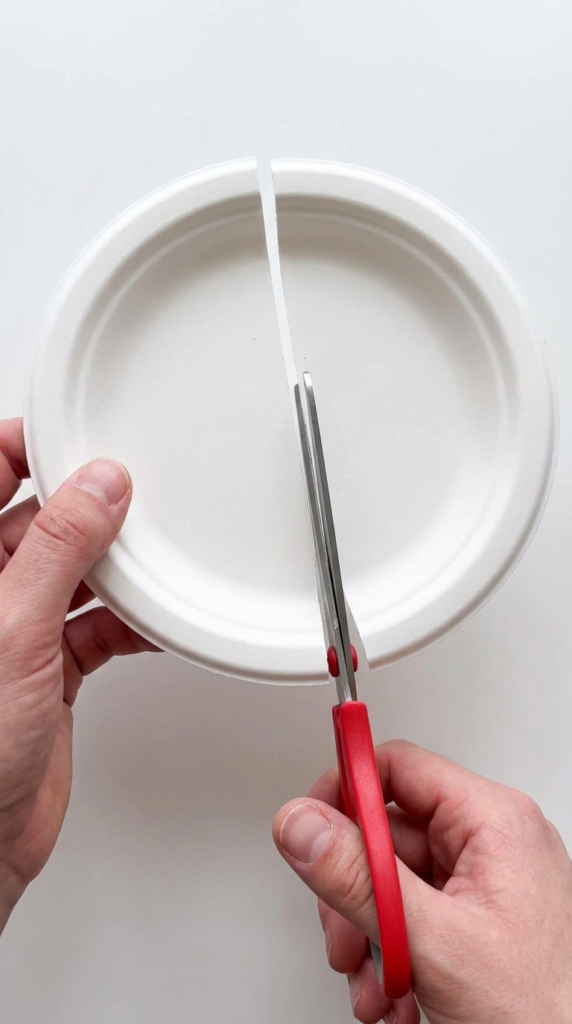
Cut a paper plate in half and carefully create two openings for the eyes. The eye holes should be positioned so the mask can be held comfortably without obstructing the child’s view.
Paint the plate green, blue, purple, orange, or another color. Allow the base coat to dry before adding details.
Cut several triangles from cardstock and arrange them along the upper or outer edge to resemble dinosaur spikes. Use different sizes to create a more interesting silhouette.
A craft stick can be attached to the bottom of the mask so the child can hold it in front of their face during pretend play. Alternatively, an adult can help create a suitable wearable attachment.
Keep the mask lightweight and make sure children can see clearly around it while playing.
8. Weave a Paper Plate Apple With Yarn
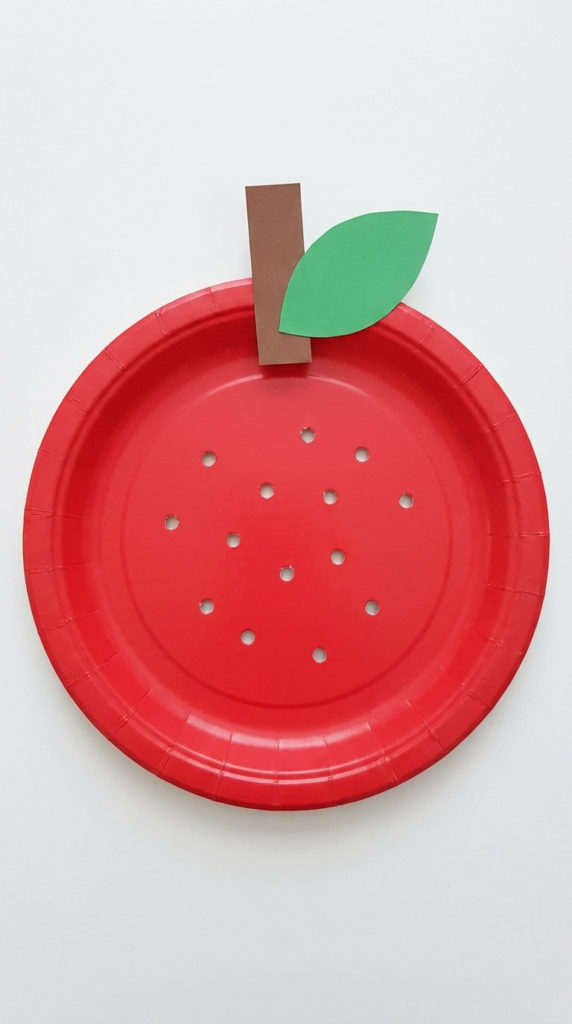
Combine a simple apple craft with an easy weaving activity. This project can help children practice moving yarn over and under a surface while creating a colorful finished picture.
Paint the paper plate red and allow it to dry. Add a brown paper stem and a green leaf near the top.
Next, create several holes throughout the central area of the plate. An adult can prepare the holes beforehand for younger children.
Cut a length of yarn and make the end easier to thread by wrapping it with a small amount of tape or using an appropriate child-safe threading tool.
Let the child move the yarn through different holes across the plate. There is no need for a perfect pattern; the irregular paths can resemble a little worm moving through the apple.
For younger children, use thicker yarn and larger holes. Older children can experiment with crossing lines or creating simple woven patterns.
9. Make a Silly Paper Plate Spider
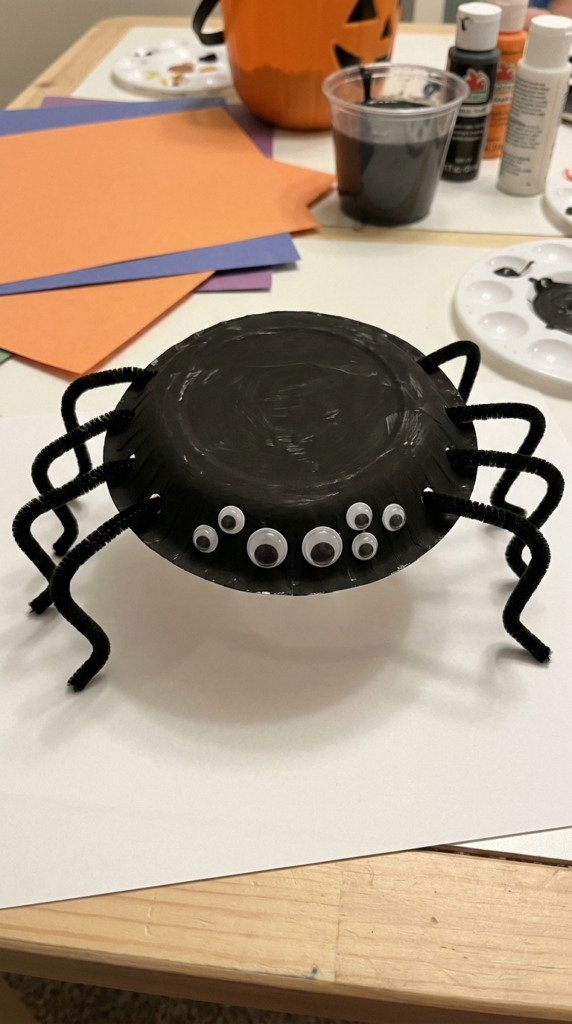
Create a friendly spider decoration with a paper plate and flexible craft materials. This version can be spooky enough for a Halloween activity while still keeping the design playful.
Paint the paper plate black and let it dry completely. Prepare eight small holes around the sides of the plate, with four on each side.
Cut black pipe cleaners or similar flexible craft material into pieces long enough to form legs. Thread or attach the pieces through the holes and bend them into curved shapes.
Add eyes across the front using paper circles, washable paint, or appropriately sized craft eyes. Children can give the spider two large eyes or create a silly character with several eyes.
The legs can be bent in different directions to make the spider appear to be walking or crawling.
For younger children, an adult should prepare the holes and handle any sharp tools. The completed spider can be hung from a wall, window, or classroom display.
10. Create a Textured Paper Plate Turtle
Make a simple turtle with a paper plate as its raised shell. This craft can be used alongside lessons or activities about animals, habitats, and nature.
Turn the paper plate upside down so the curved portion becomes the turtle’s shell. Paint it green and allow it to dry.
Add texture to the shell with green tissue paper, cardstock pieces, painted paper shapes, or other lightweight craft materials. Arrange the pieces in a repeating pattern to give the shell more detail.
Cut a head, four flippers, and a small tail from green cardstock. Attach the pieces underneath the plate’s edge so they extend beyond the shell.
Add simple eyes and facial details to the head. Older children can draw shell patterns or use different shades of green to create additional depth.
This project can represent either a land turtle or a sea turtle depending on the shape and colors used for the head and flippers.
11. Build a Spotty Paper Plate Ladybug
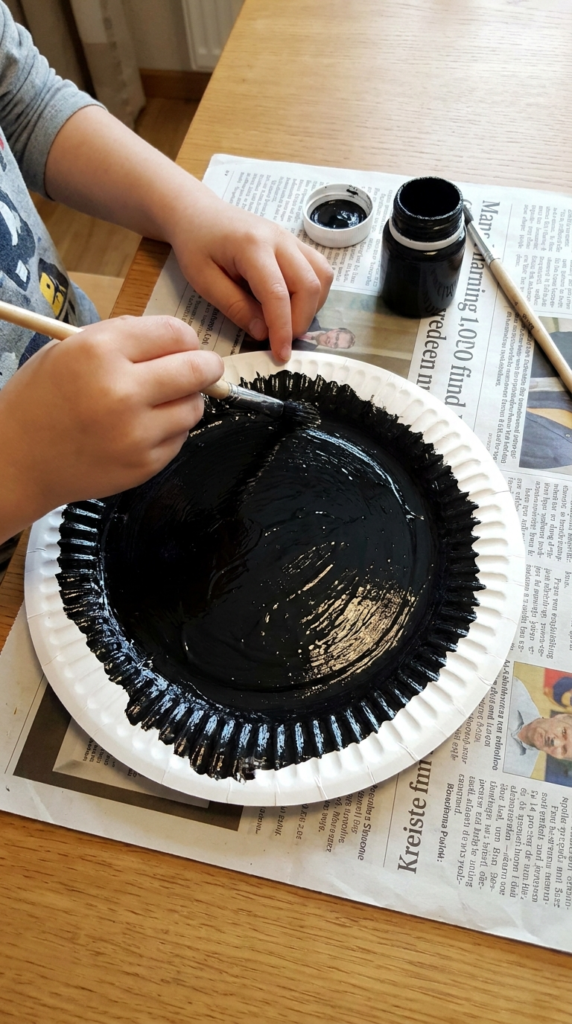
Make a cheerful ladybug from two paper plates and a few simple decorations. The movable wings make this project more interactive than a flat paper insect.
Paint one plate black and let it dry completely. This will serve as the ladybug’s body.
Paint another plate red. Once dry, cut it carefully in half to create two separate wings.
Place the red pieces over the black plate and secure them near the top using paper fasteners. The fasteners allow the wings to move independently.
Add black spots to the red wings using paint, markers, paper circles, or lightweight craft pieces. Keep the spots relatively large for younger children.
Add eyes and small antennae to complete the insect. Children can open and close the wings to reveal the black body underneath.
For a garden-themed display, make several ladybugs in different sizes and arrange them around paper flowers and leaves.
12. Turn Paper Plates Into a Simple Ring Toss Game
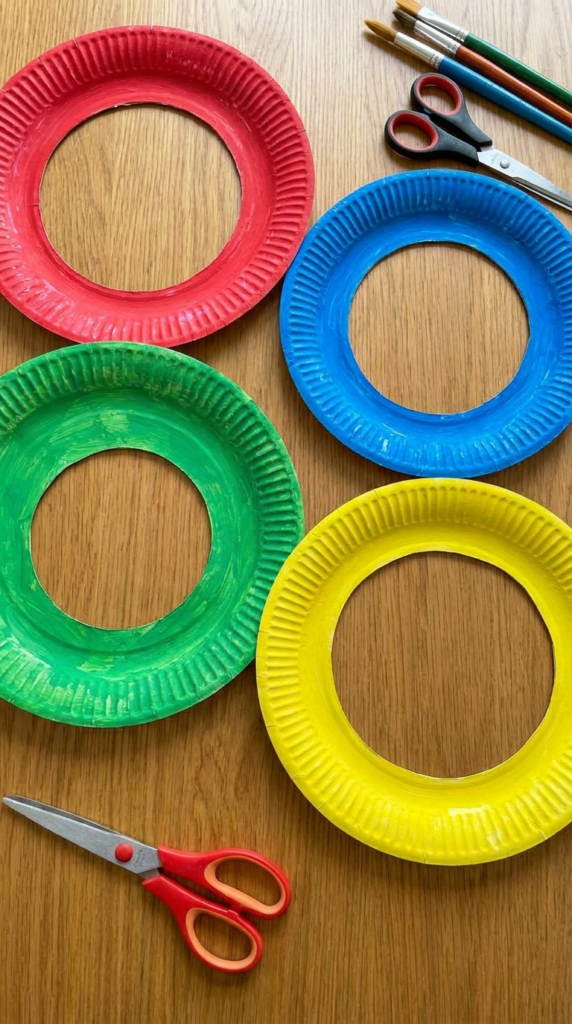
Combine crafting and active play by turning paper plates into a homemade ring toss game. Children can decorate the game before playing it, giving them both a creative and physical activity.
Take several paper plates and carefully remove the center portions, leaving the outer rings intact. These rings will become the throwing pieces.
Let children decorate each ring using different colors, patterns, or simple shapes. Once the paint or markers have dried, prepare the target.
Use an empty cardboard tube as the upright post and attach it securely to the center of an intact paper plate. The base should be wide enough to keep the post stable during play.
Place the target on a flat surface and have children toss the rings toward it. For younger children, position the throwing line close to the target. Older children can stand farther away.
Instead of focusing only on competition, children can simply practice aiming and counting how many rings land successfully around the post.
13. Make a Cheerful Paper Plate Sunflower
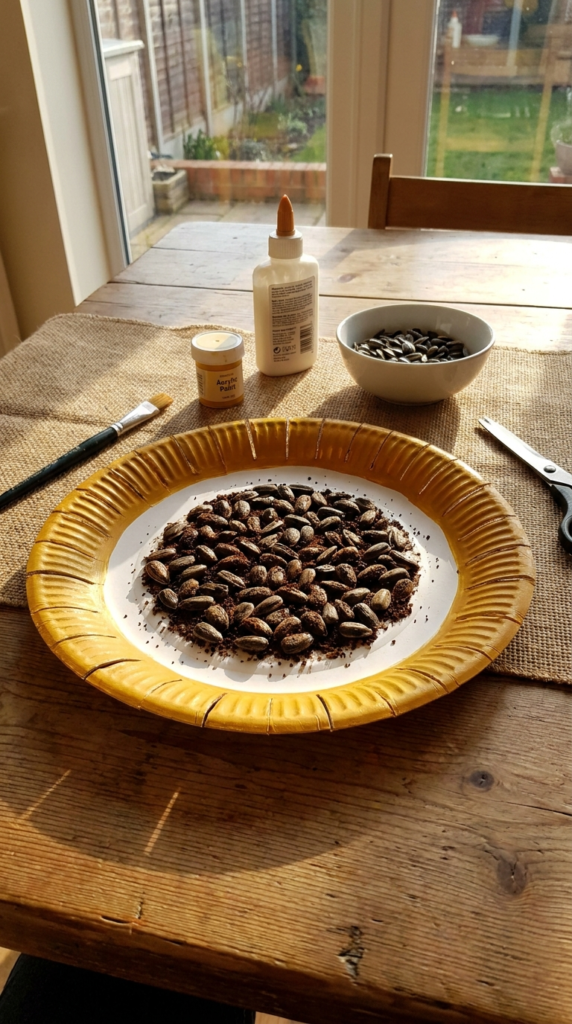
Create a bright sunflower using a paper plate as the flower’s base. The project is especially useful for autumn or nature-themed craft activities.
Paint the outer portion of the plate yellow. Once the paint has dried, make small cuts around the outside edge to create individual petals.
The cuts can be rounded or pointed depending on the look you want. Make sure the cuts are spaced safely and do not extend too far toward the center.
Paint the inner circle a darker brown shade. For additional texture, glue suitable craft materials onto the center after the paint has dried.
Children can use paper scraps, tissue paper, or other age-appropriate materials to create the seed area. If using real seeds, make sure they are securely attached and appropriate for the child’s age.
Add a green paper stem and leaves if you want to turn the sunflower into a larger wall display. Several flowers can be combined into a colorful homemade bouquet.
14. Create an Interactive Paper Plate Frog
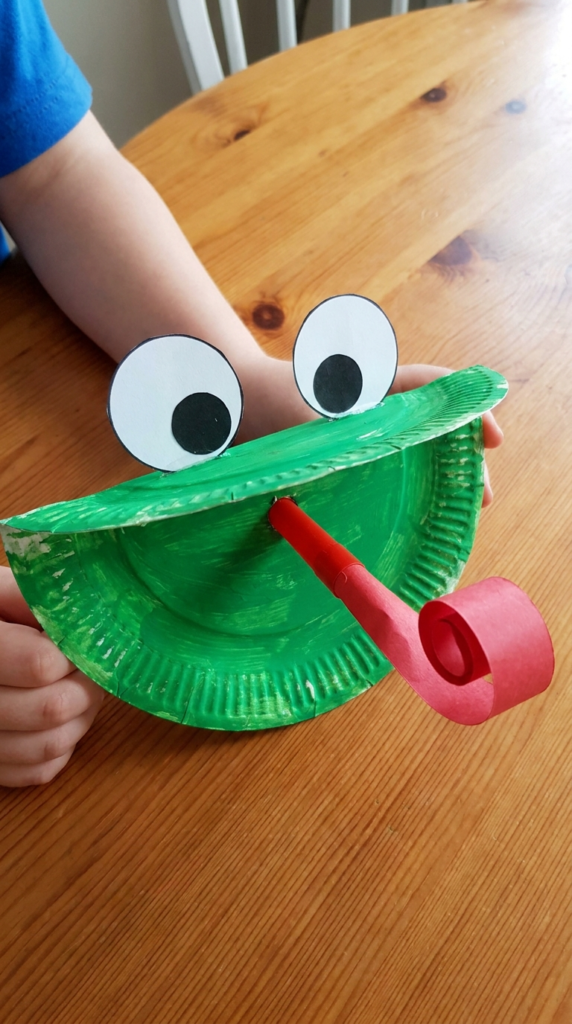
Make a frog that appears to stick out its tongue when a child blows into a party blower. This interactive project adds a playful element to an ordinary paper plate craft.
Paint a paper plate green and allow it to dry. Fold the plate in half so it forms a wide mouth shape.
Create large eyes from paper circles and attach them along the upper edge. Children can draw pupils and add other facial details with markers.
Prepare the mouth area for the party blower according to the size of the material being used. An adult should handle any cutting or hole-making needed for assembly.
Insert the blower through the prepared opening and secure it so it does not easily pull loose during normal play.
When the child blows through the mouthpiece, the rolled paper portion extends outward, creating the appearance of a frog sticking out its tongue.
Supervise children during use and make sure the craft materials are suitable for their age. The finished frog can also be displayed as a fun character when it is not being used as a toy.
15. Build a Textured Paper Plate Lion
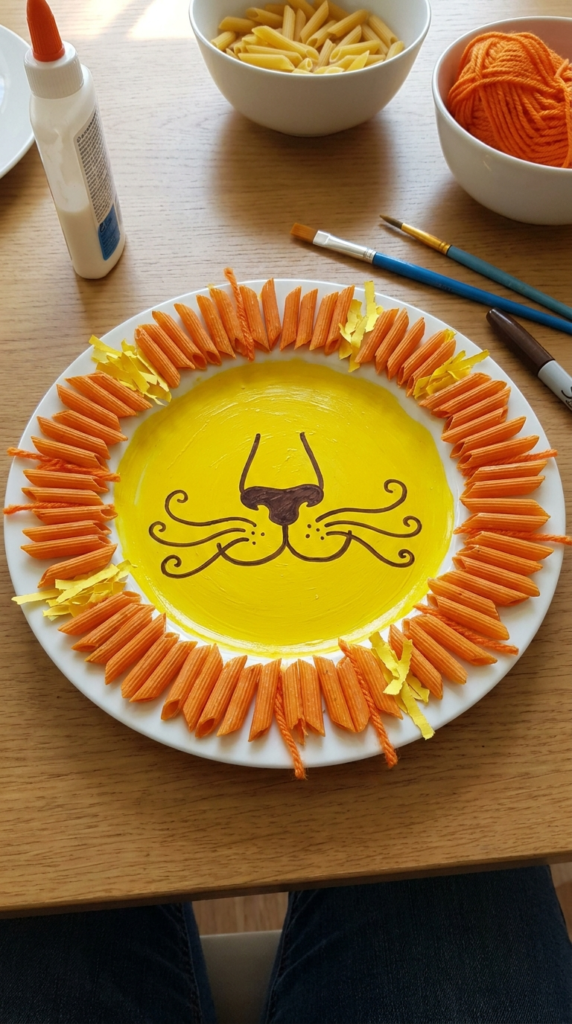
Turn a paper plate into a cheerful lion face using paint and textured materials for the mane. This project allows children to explore different materials while creating an easily recognizable animal.
Start by painting the center of the plate yellow or golden. Leave enough room around the outside edge for the mane.
Once the base has dried, add a simple nose, eyes, mouth, and whiskers using paint or washable markers. The facial features can be drawn by the child rather than needing to look perfectly symmetrical.
For the mane, choose a material that creates texture. Short pieces of orange or yellow yarn can be glued around the outer edge. Shredded paper can create a fluffy appearance, while uncooked pasta pieces can provide a more unusual textured effect for supervised craft activities.
If using food-based materials such as dry pasta, keep them securely attached and consider the child’s age and environment.
Experiment with different mane colors to create unique lion characters. You can also add rounded ears behind the mane or attach the completed lion to a cardboard background.
A collection of paper plate lions with different expressions makes a fun classroom or playroom display and gives each child an opportunity to personalize their animal.